MHI2(Q) screens
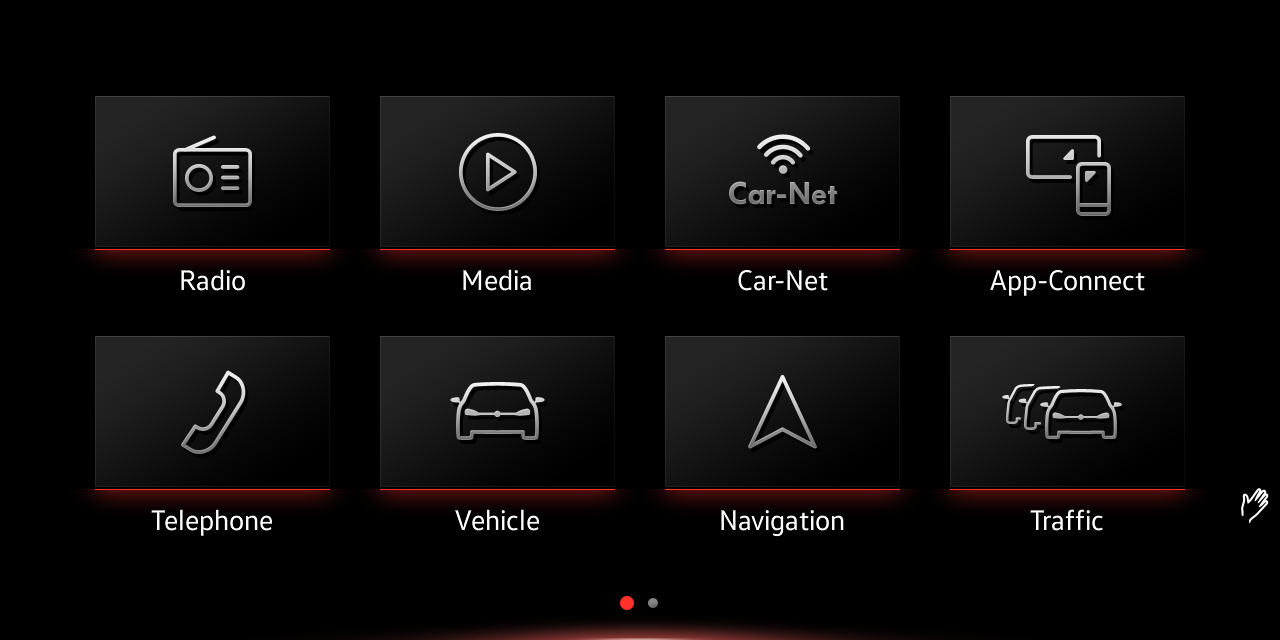
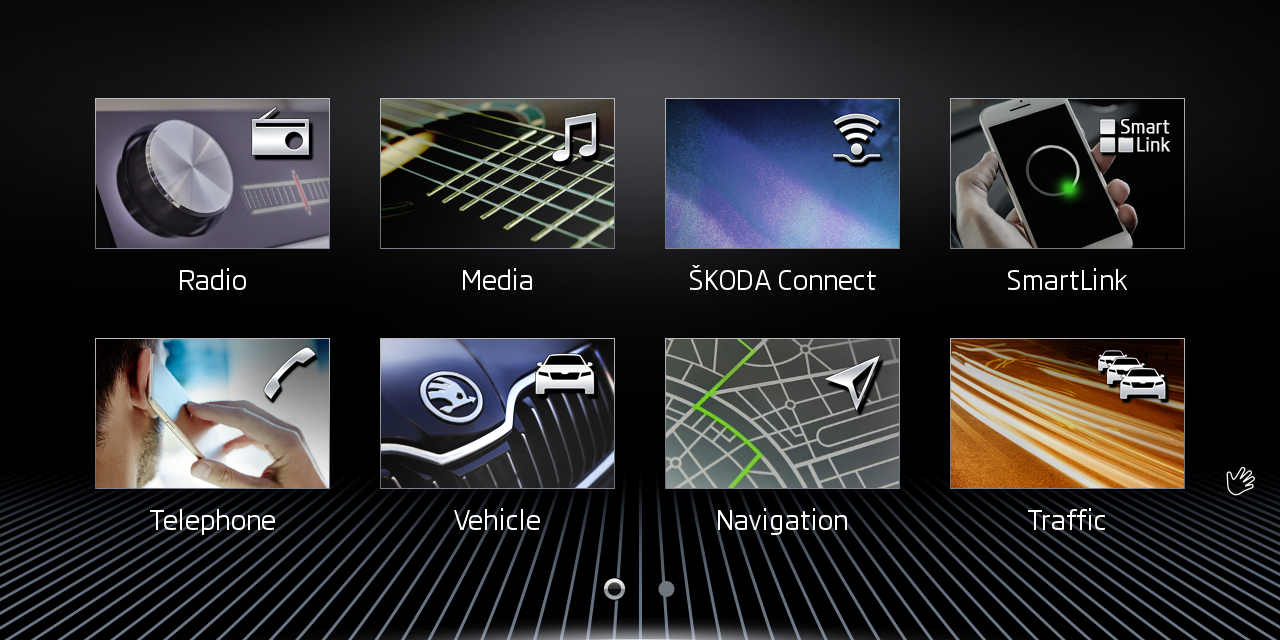
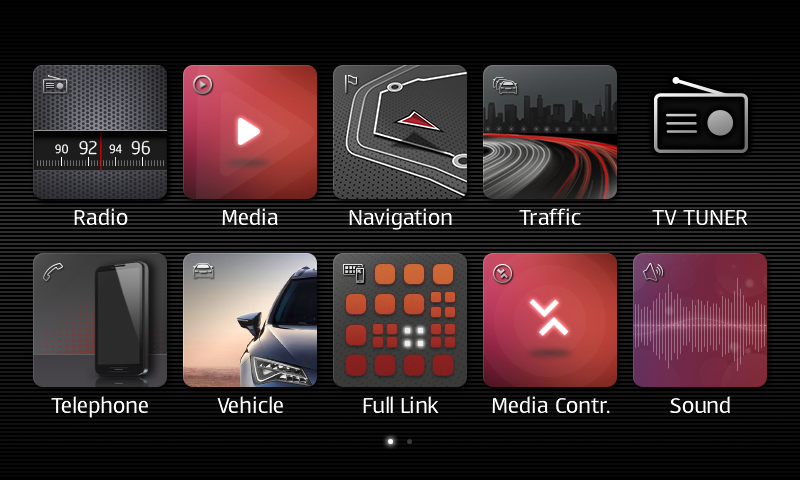
VW, Skoda and Seat MHI2 interfaces are very similar. Especially [Service Mode](/MHI2 MHI2Q Harman Aisin/Recovery/Conversion & Cross-flashing/FW Update - SWDL/MHI2 Q screens//#h-service-mode-menu) Menu is identical
Navigation Screen
| VW (G13) | Skoda (G13) | Seat |
|---|---|---|
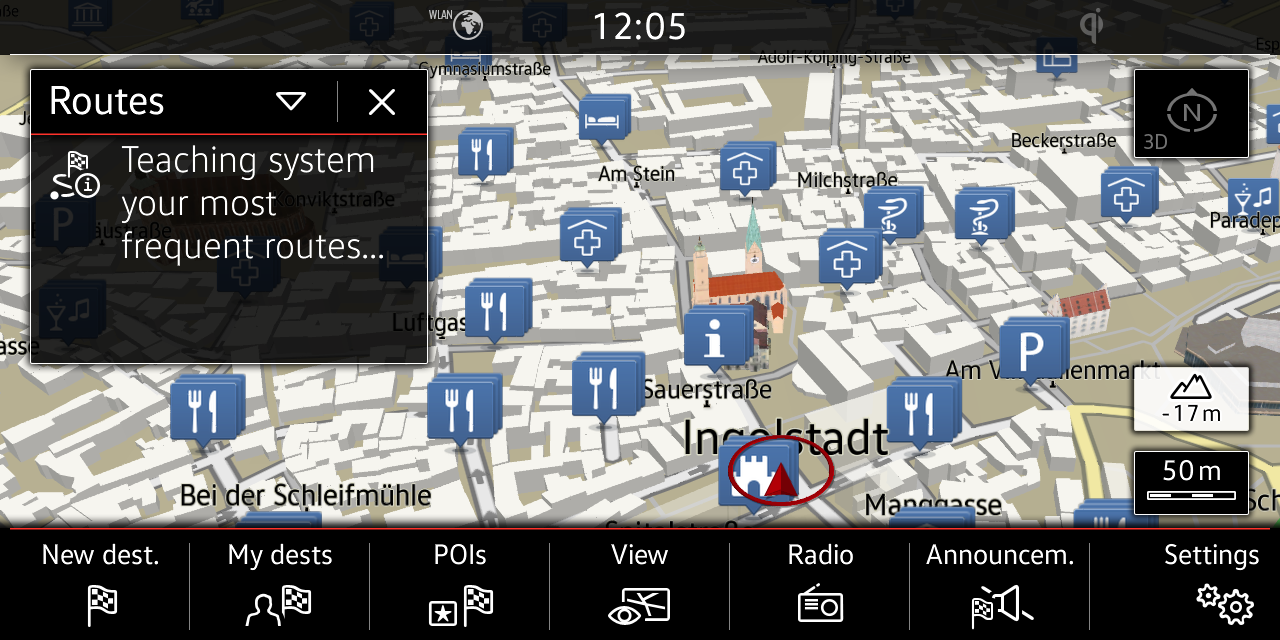 | 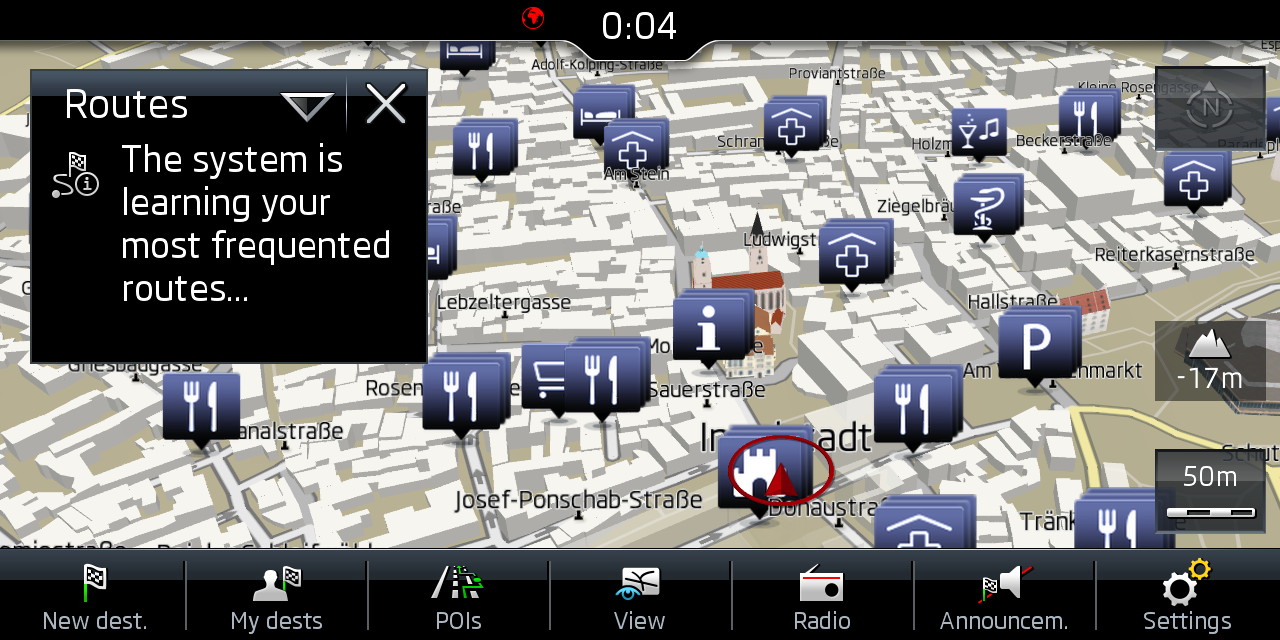 | 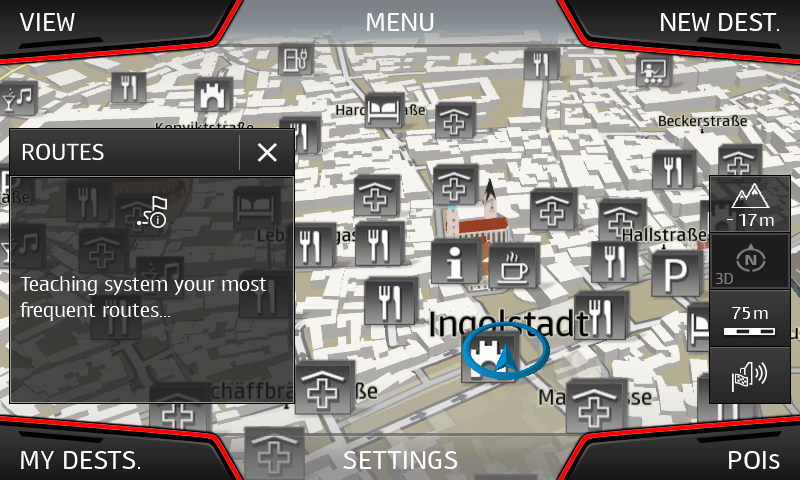 |
Main Menu
| VW (G13) | Skoda (G13) | Seat |
|---|---|---|
 |  |  |
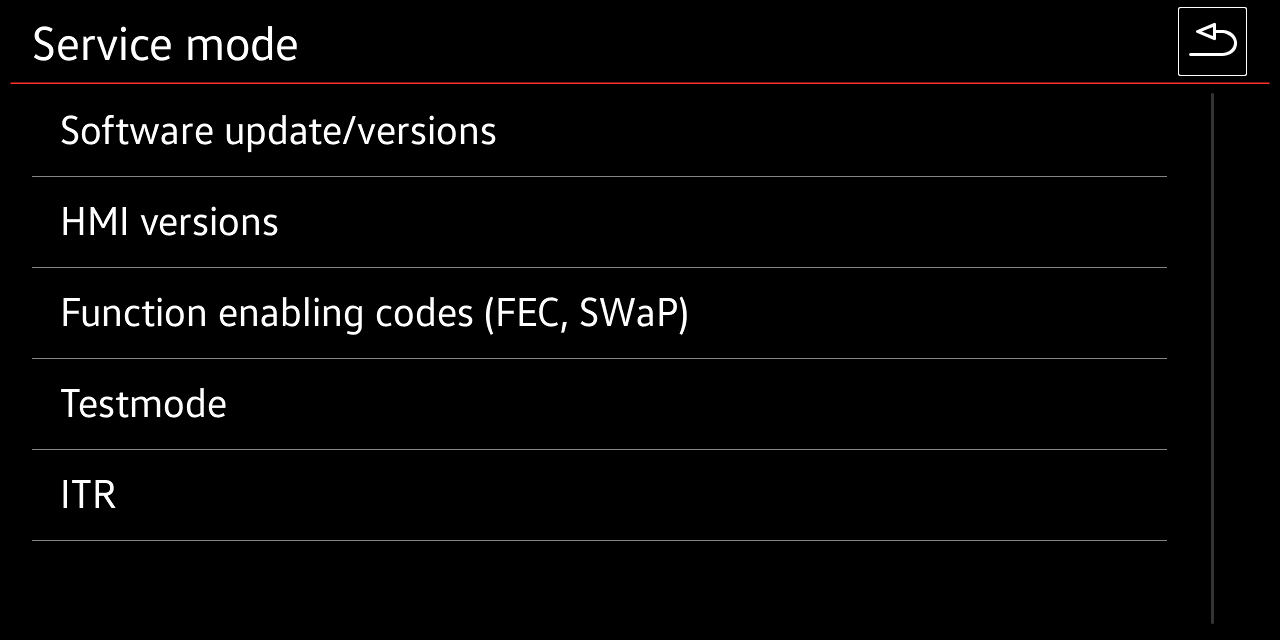
Service Mode Menu
Press Menu button for 5 sec to enter Service Mode Menu
| VW (G13) | Skoda (G13) | Seat |
|---|---|---|
 | 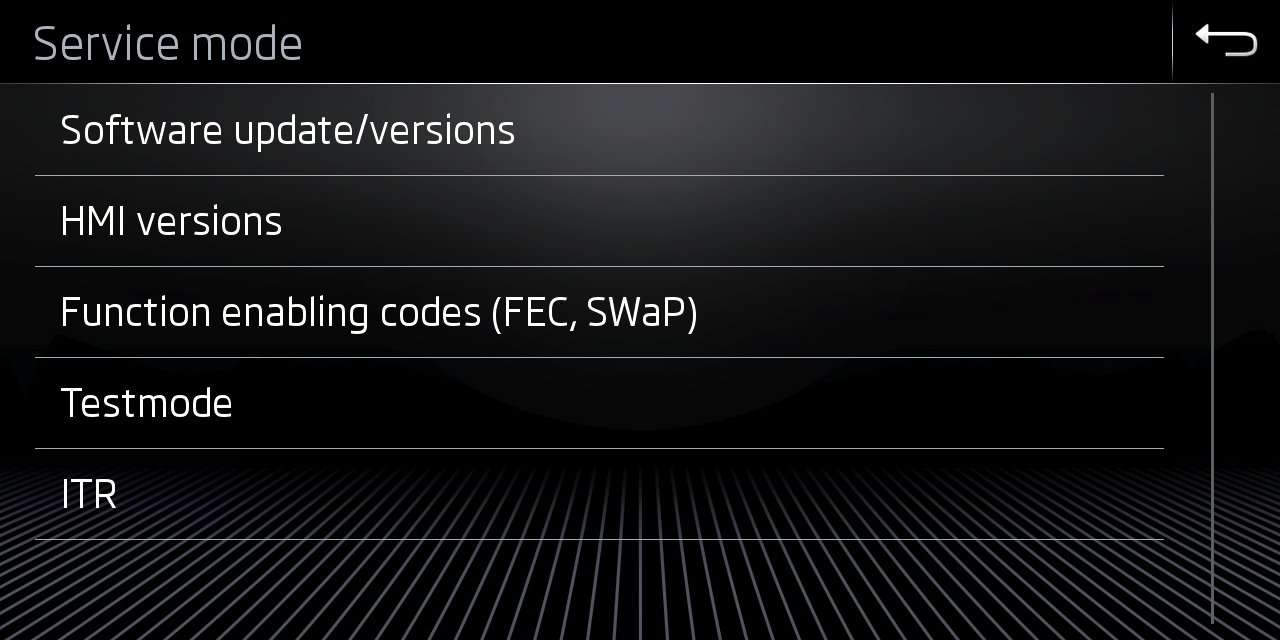 | 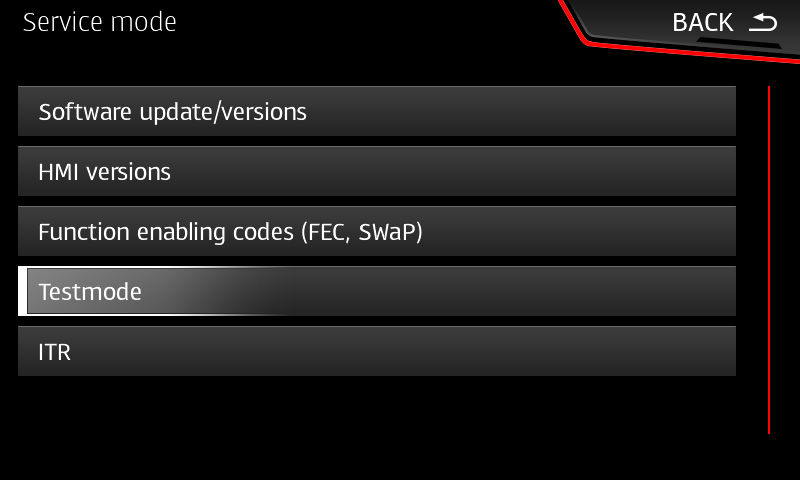 |
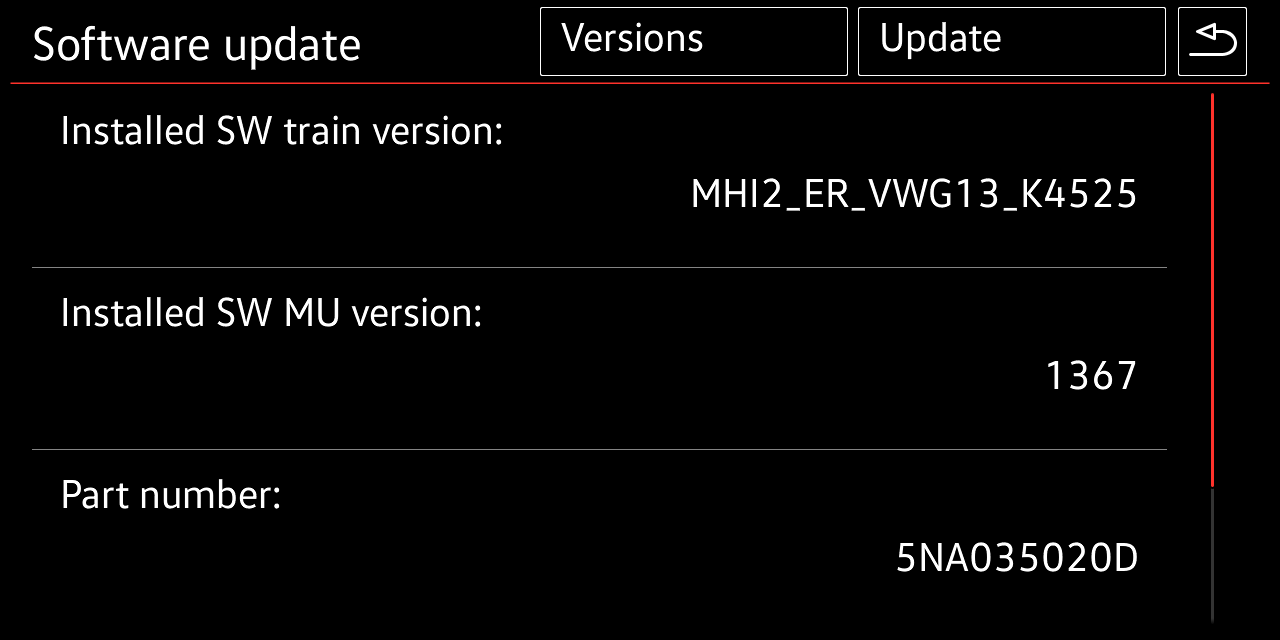
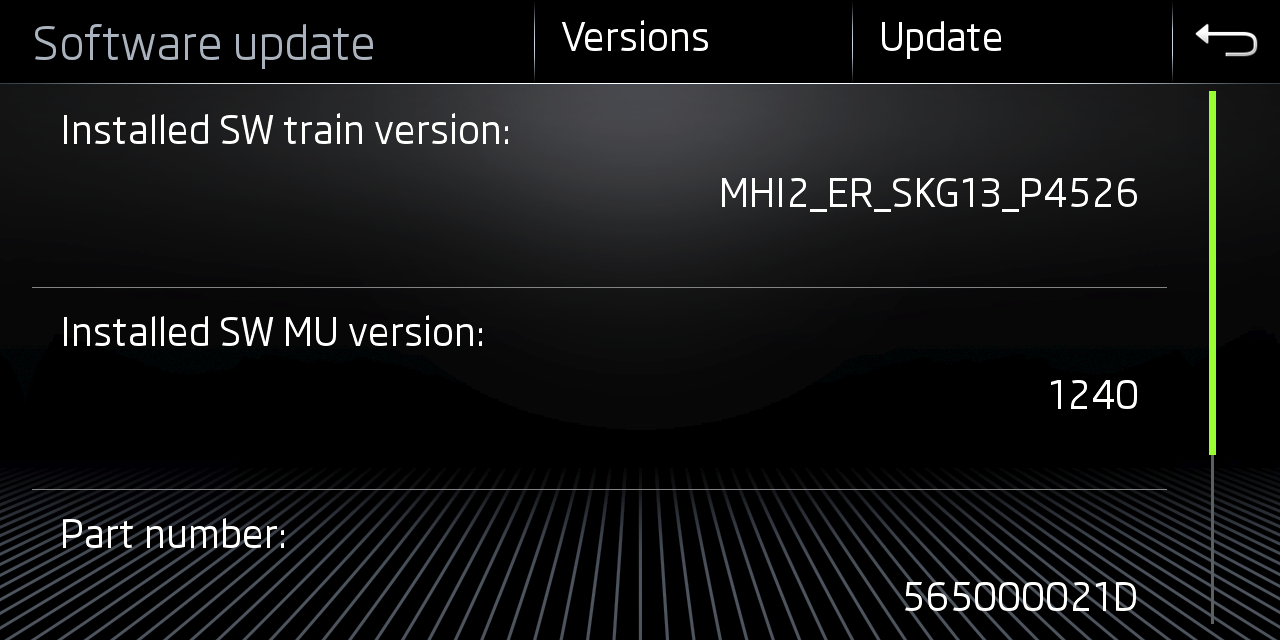
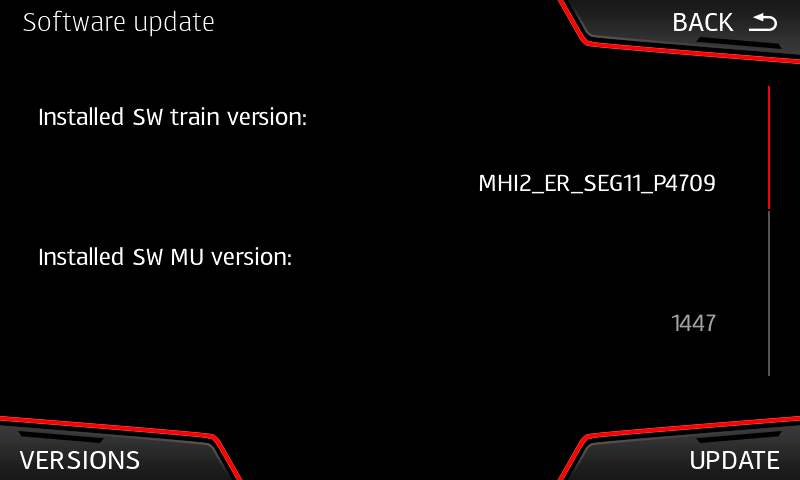
Software update/version
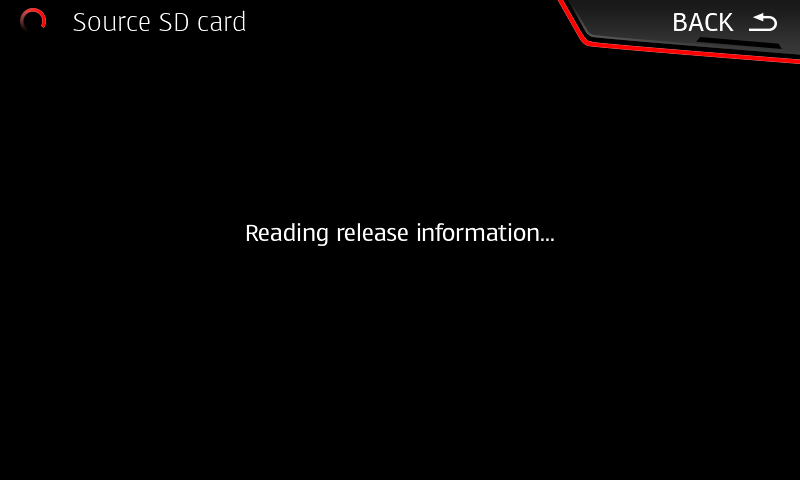
Start FW installation or M.I.B installtion from here.
Get TRAIN information MHI2…
| VW (G13) | Skoda (G13) | Seat |
|---|---|---|
 |  |  |
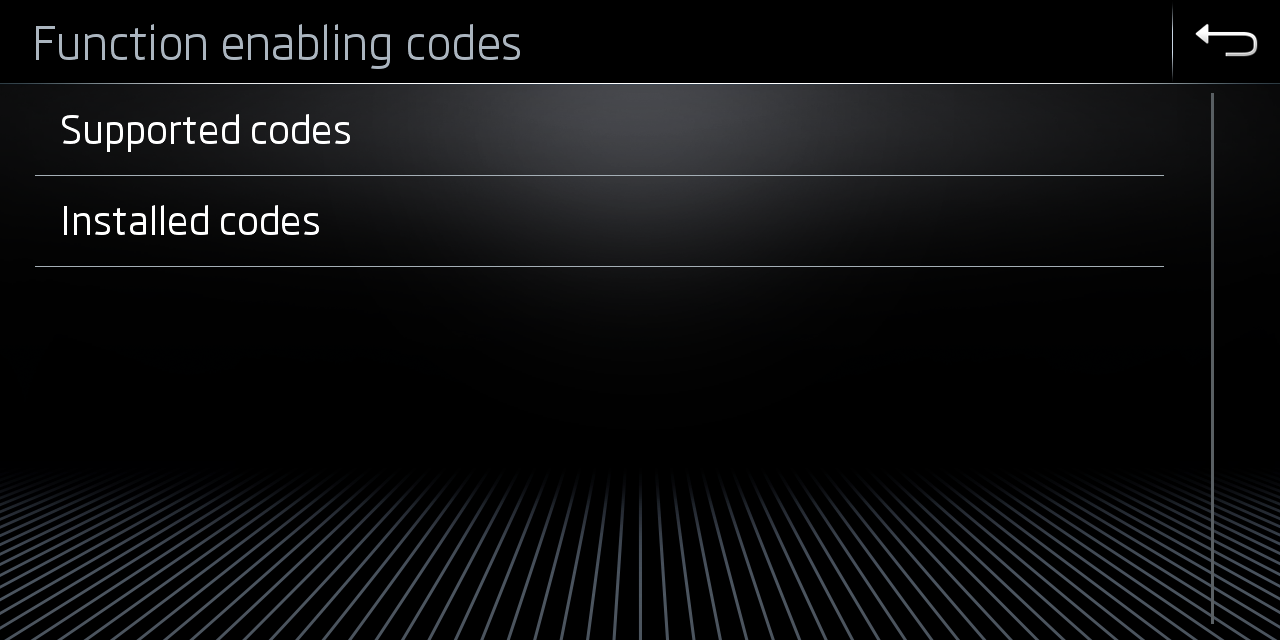
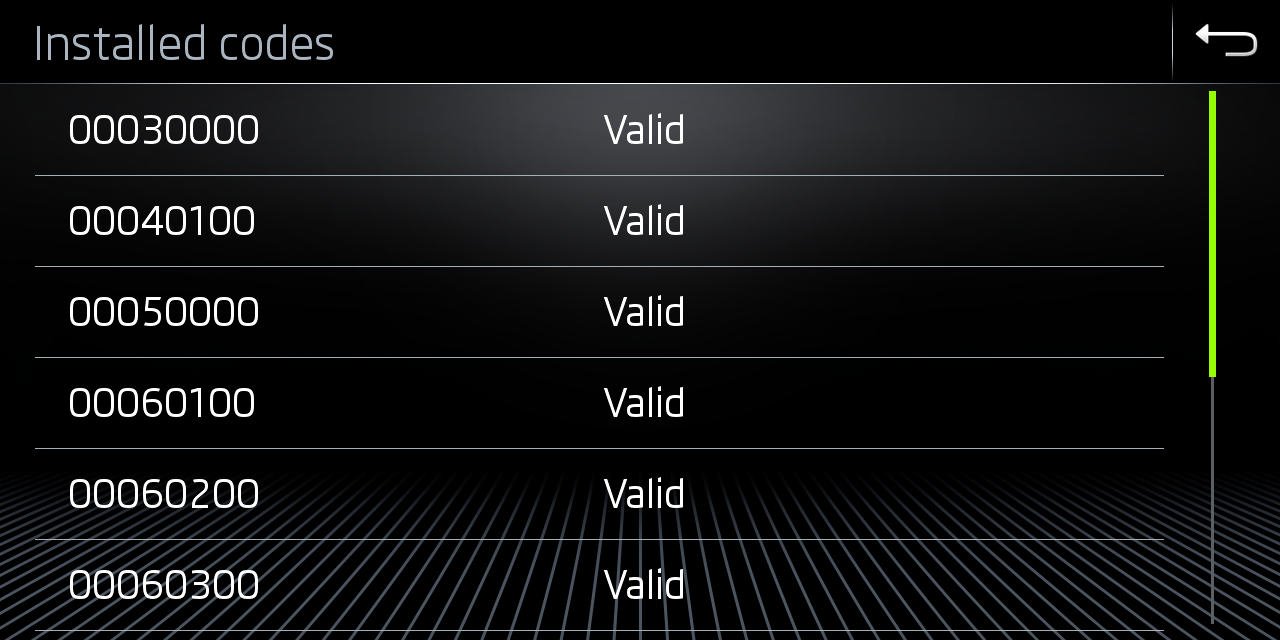
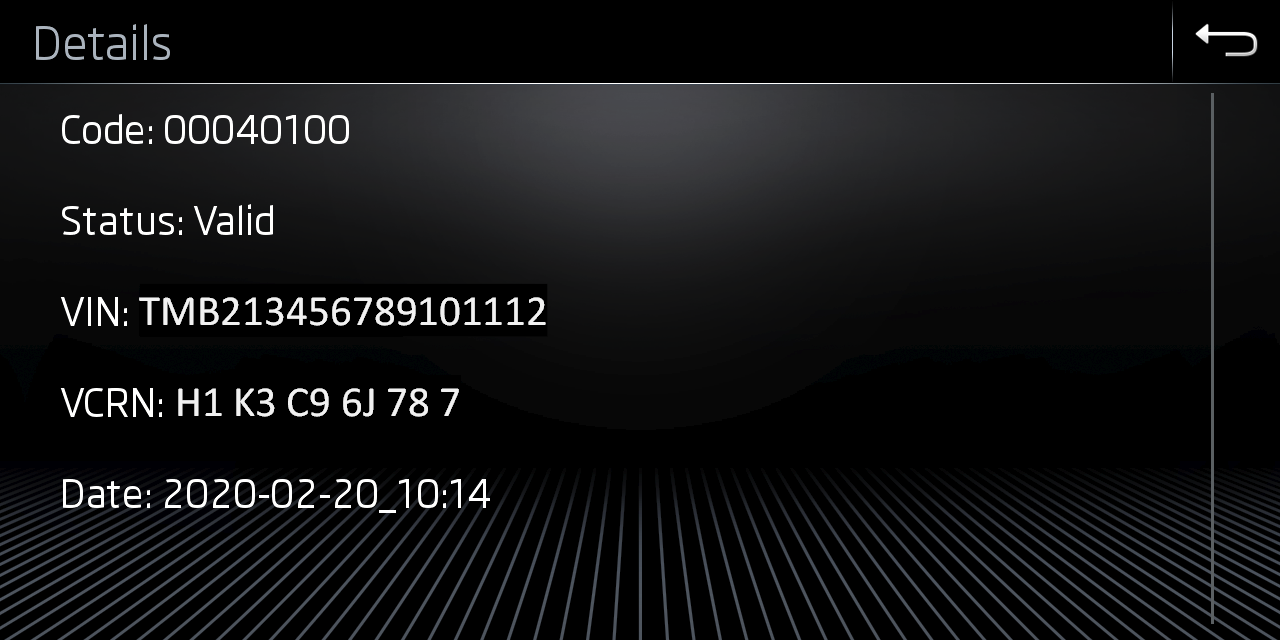
Function enabling codes (FEC,SWaP)
Enter [Service Mode](/MHI2 MHI2Q Harman Aisin/Recovery/Conversion & Cross-flashing/FW Update - SWDL/MHI2 Q screens//#h-service-mode-menu) and select Function enabling codes (FEC,SWaP) will show all installed FECs and their status
| VW (G13) | Skoda (G13) | Seat |
|---|---|---|
| ||
 | ||
 | ||
 |
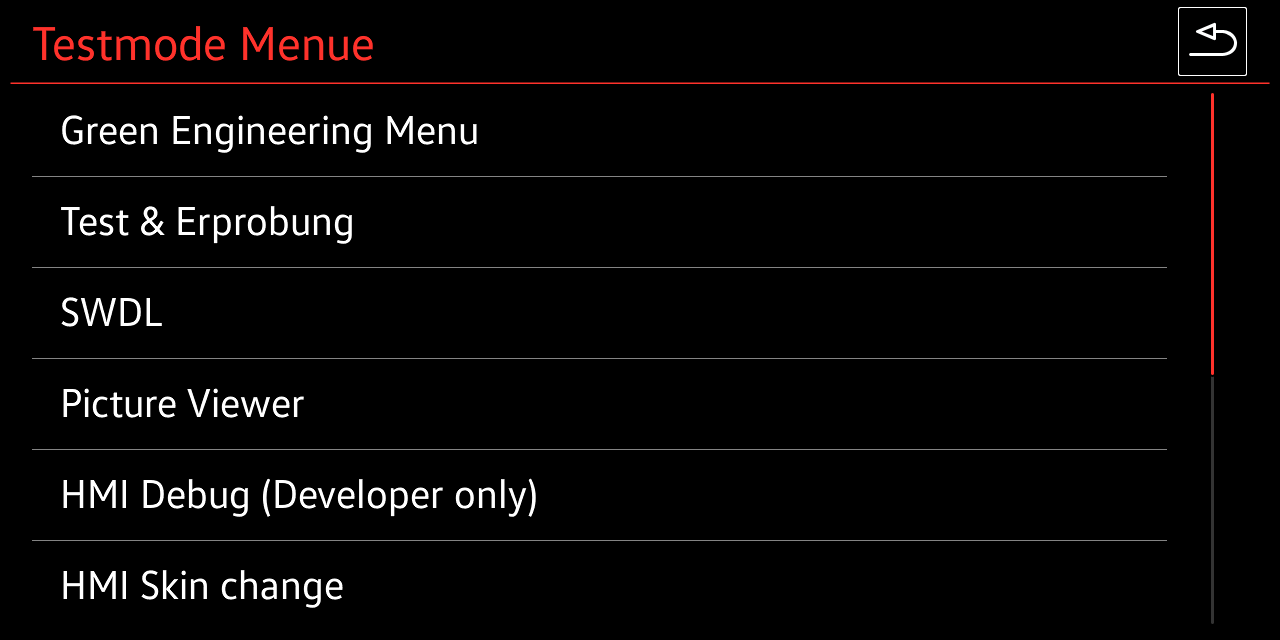
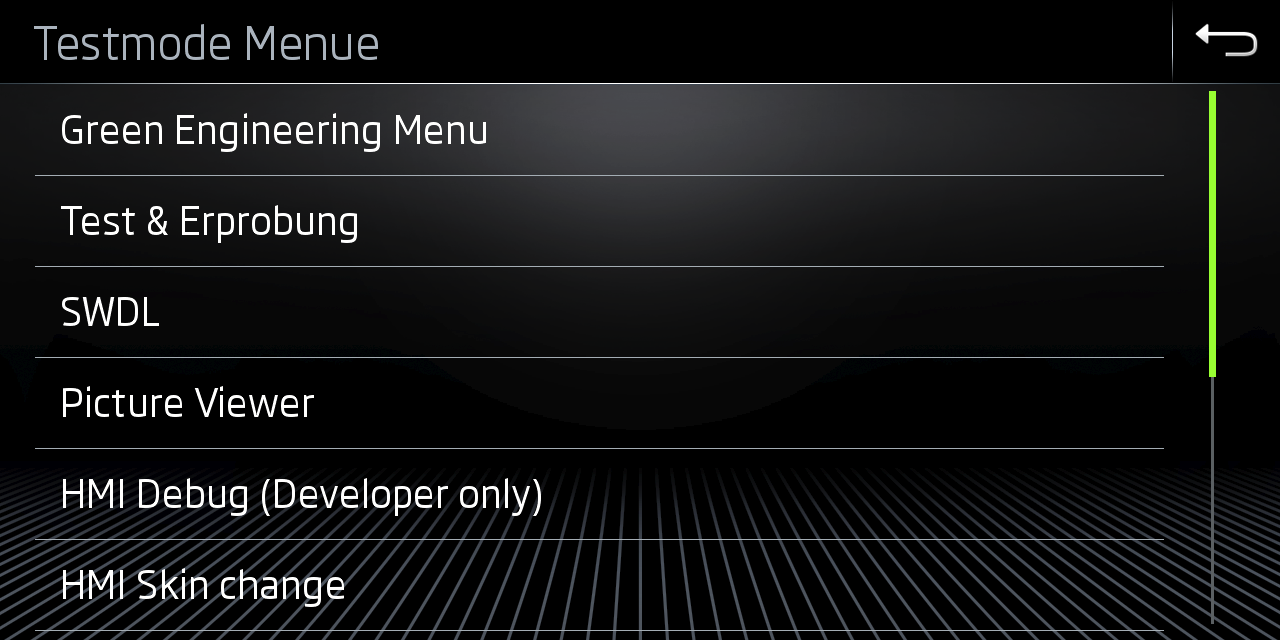
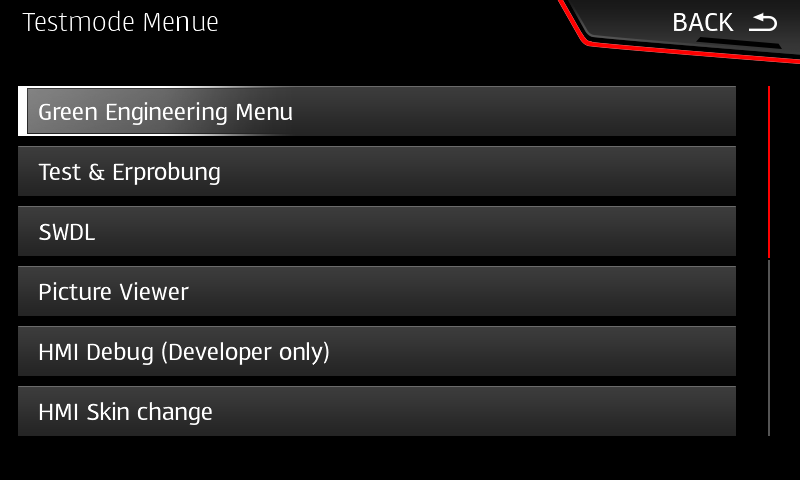
Testmode Menu: GEM, SWDL, etc via [Service Mode](/MHI2 MHI2Q Harman Aisin/Recovery/Conversion & Cross-flashing/FW Update - SWDL/MHI2 Q screens//#h-service-mode-menu)
Enter [Service Mode](/MHI2 MHI2Q Harman Aisin/Recovery/Conversion & Cross-flashing/FW Update - SWDL/MHI2 Q screens//#h-service-mode-menu) and select Testmode
Access to Green Engineering Menu (GEM), SWDL - custom FW update and more
| VW (G13) | Skoda (G13) | Seat |
|---|---|---|
 |  |  |
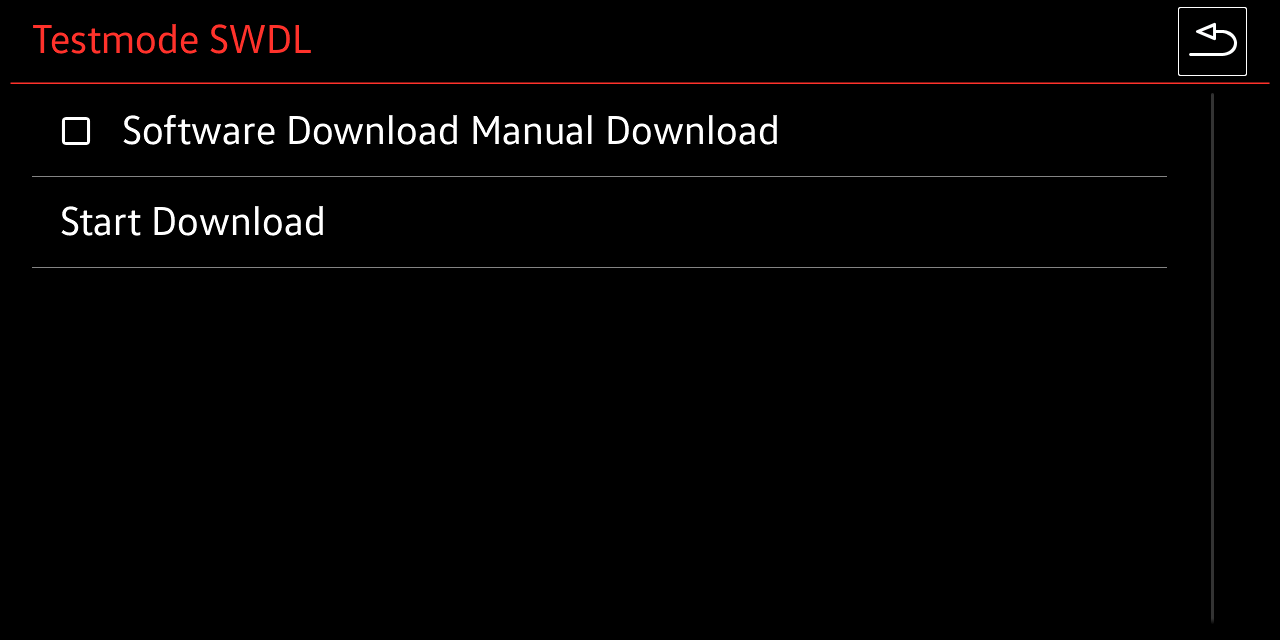
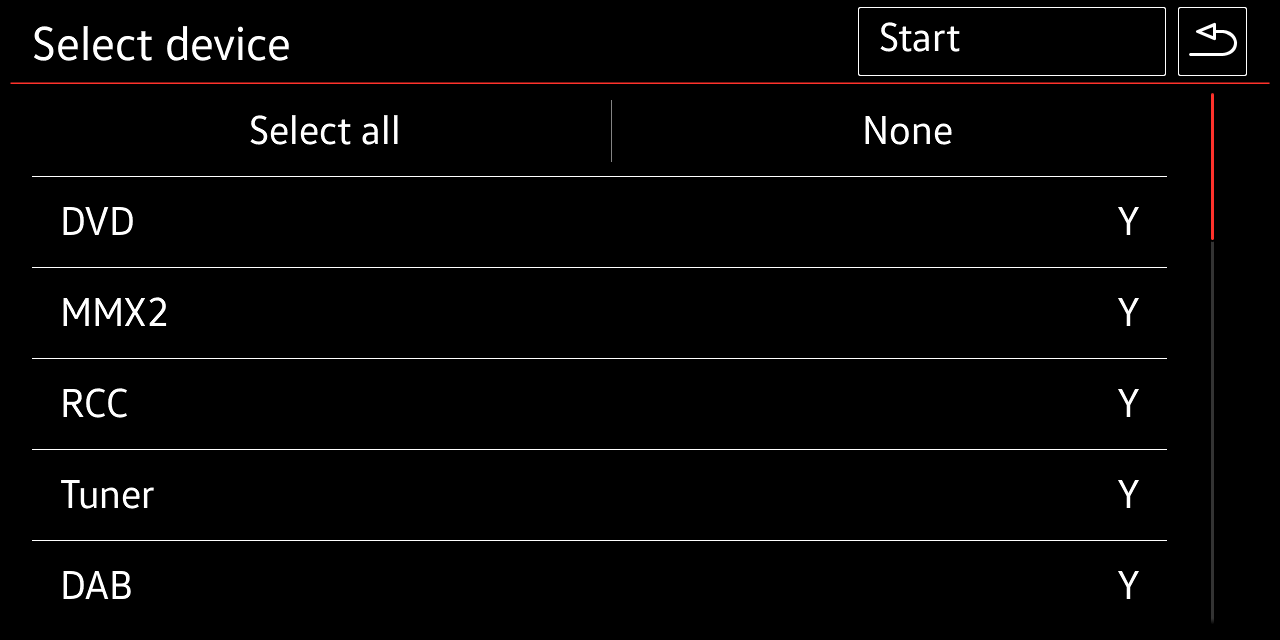
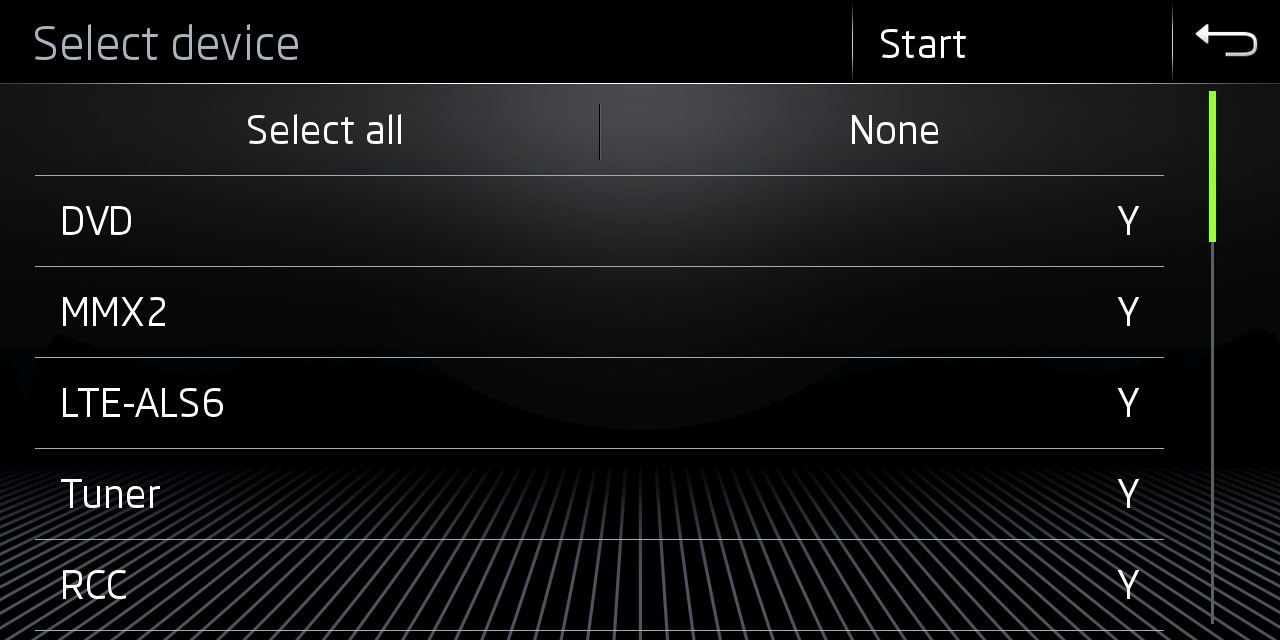
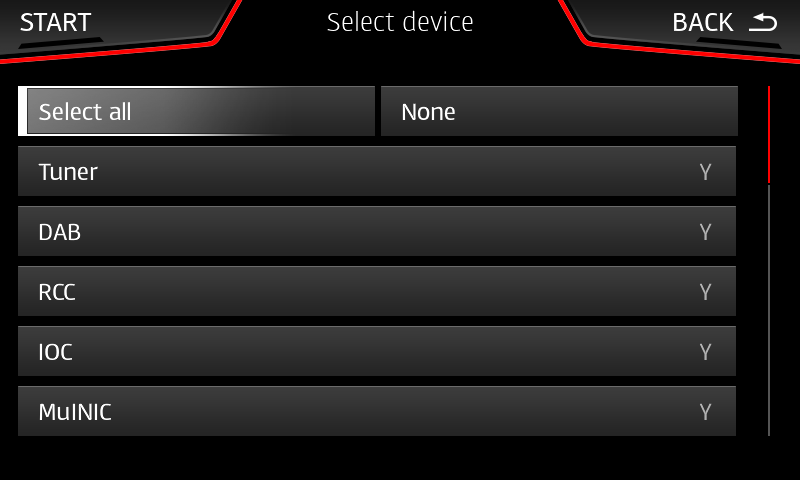
SWDL - Software Down Load (manual/user defined)
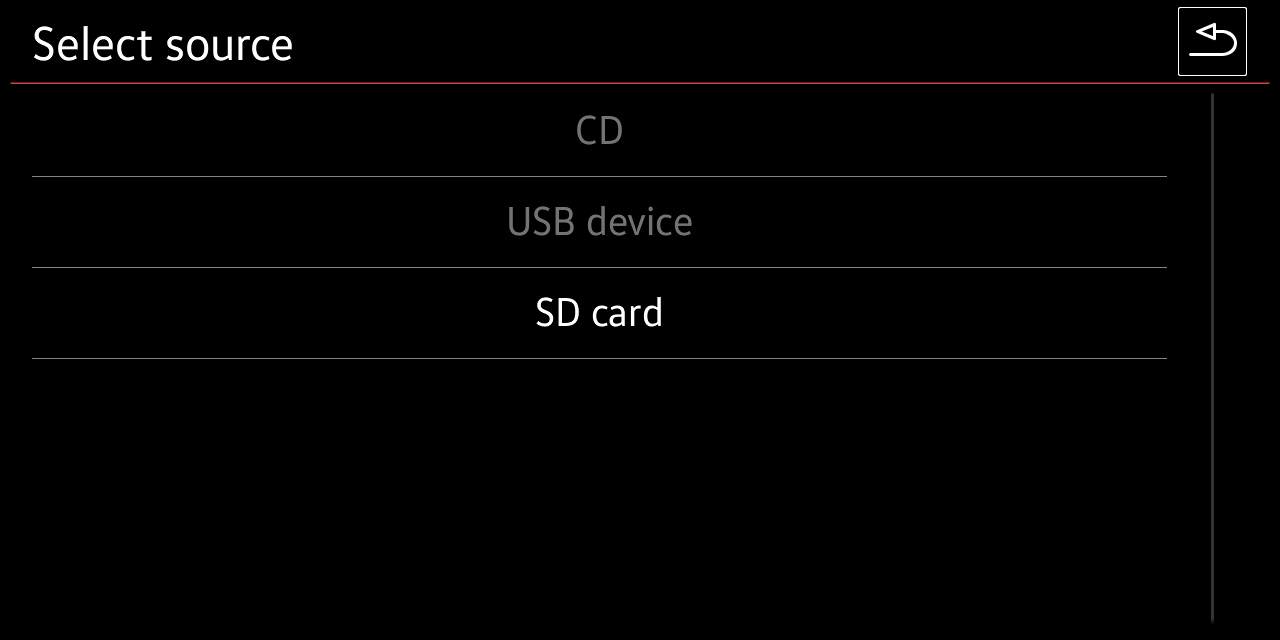
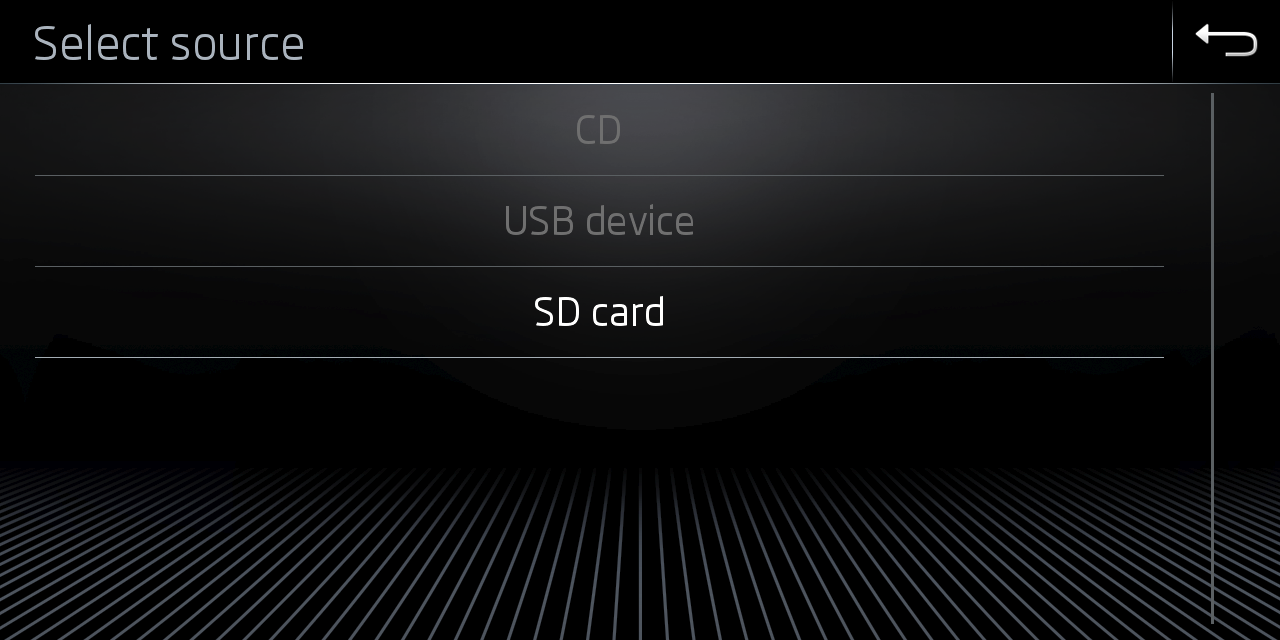
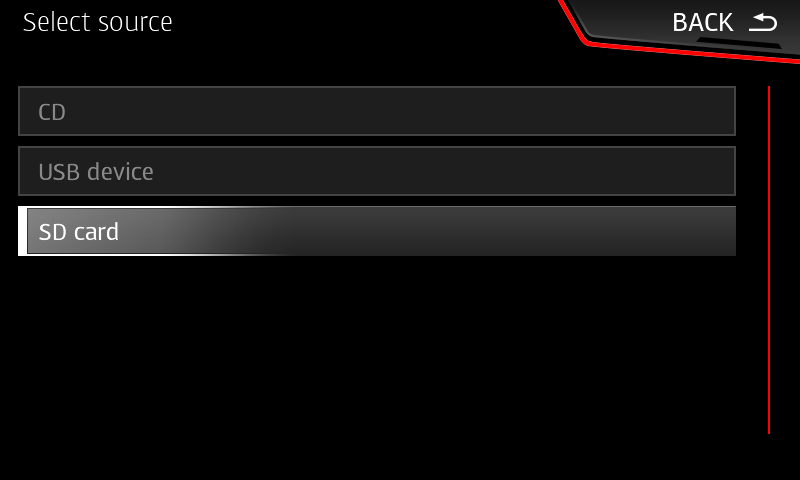
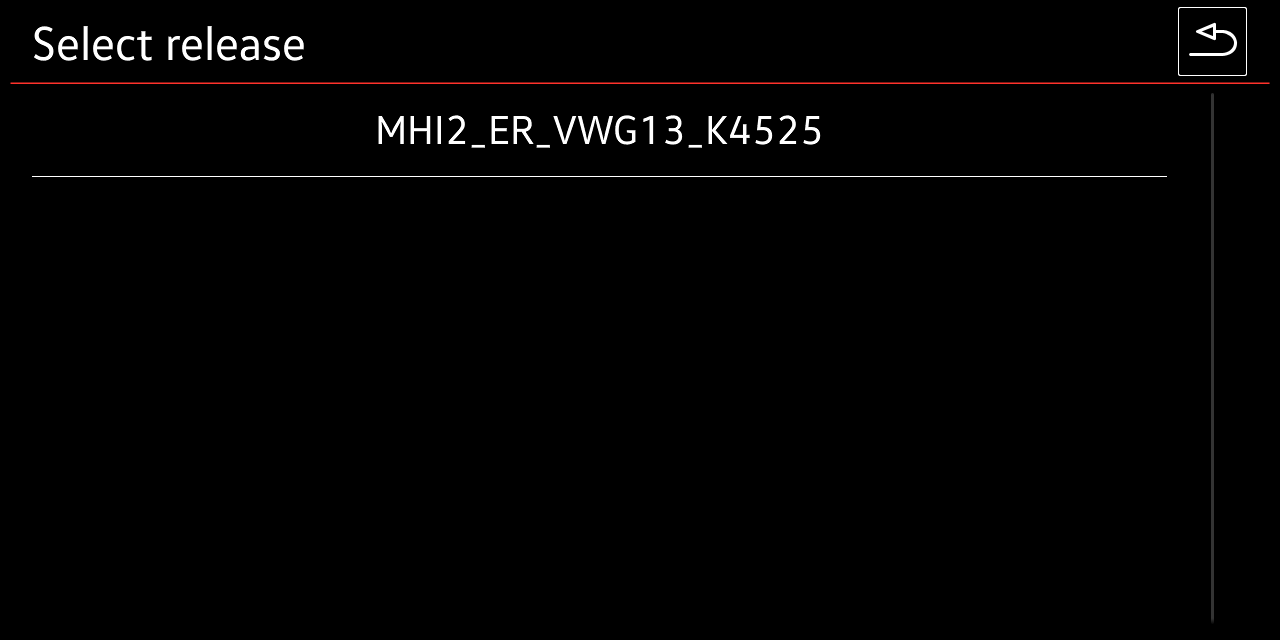
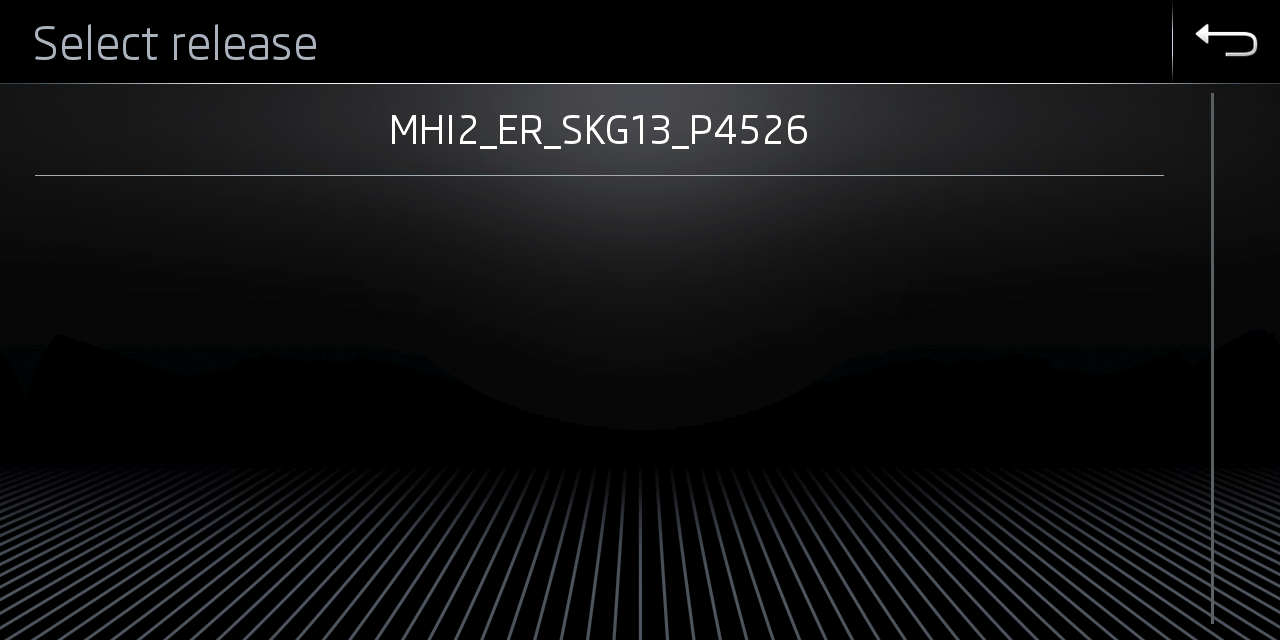
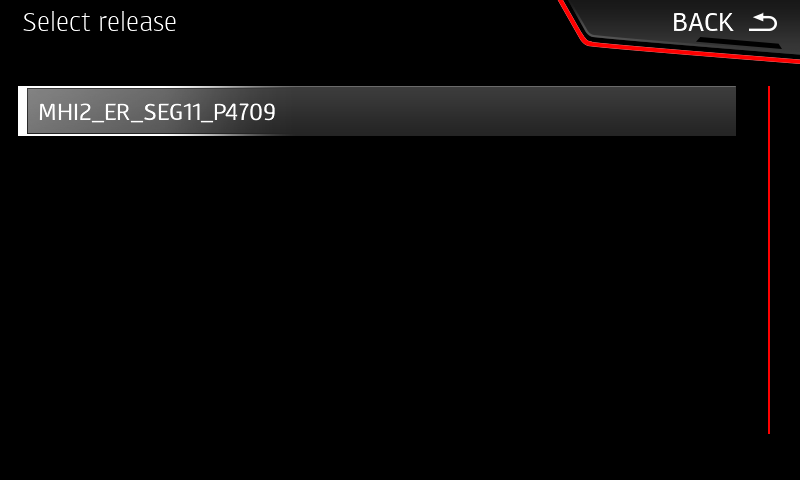
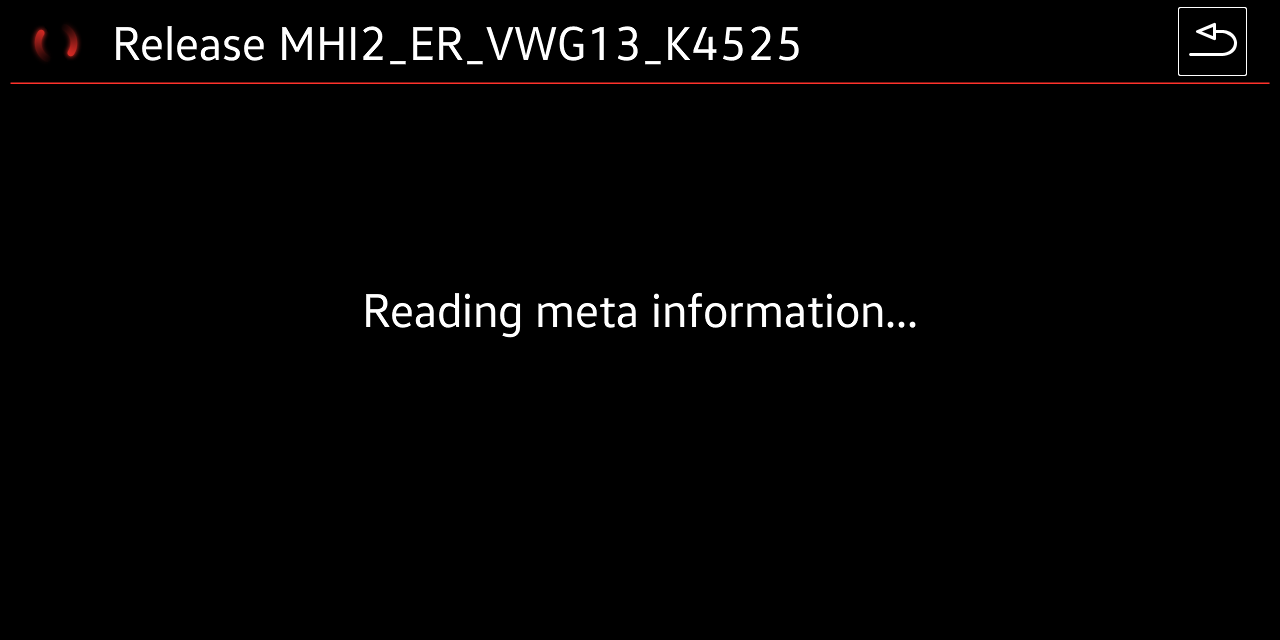
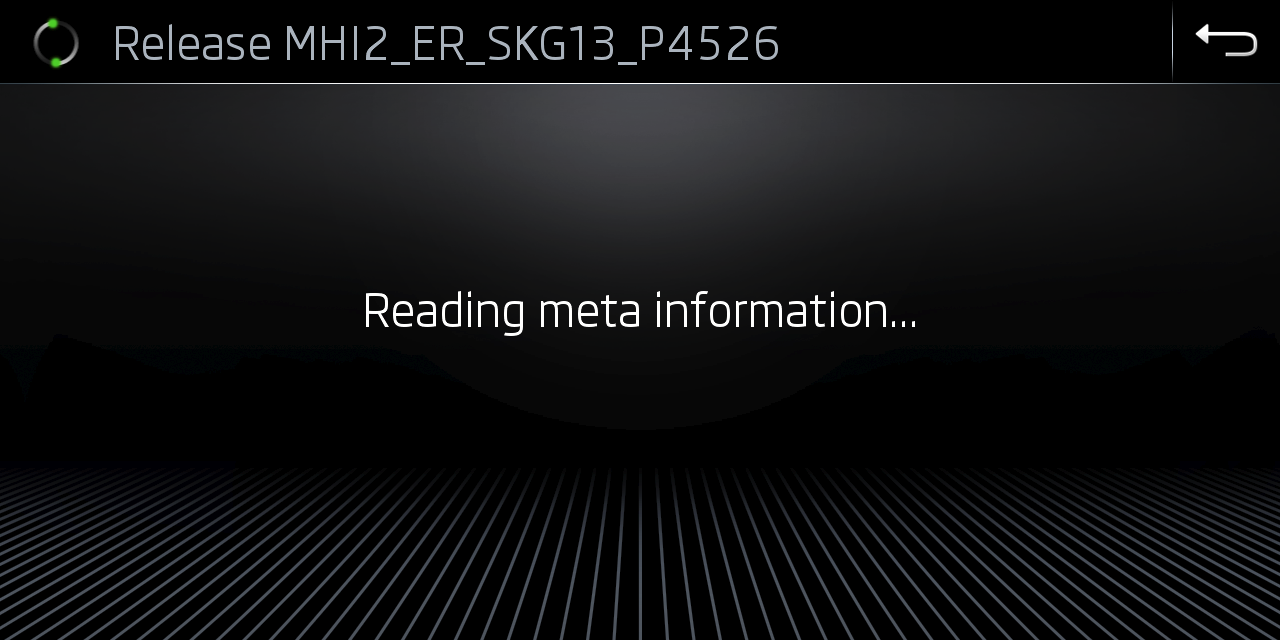
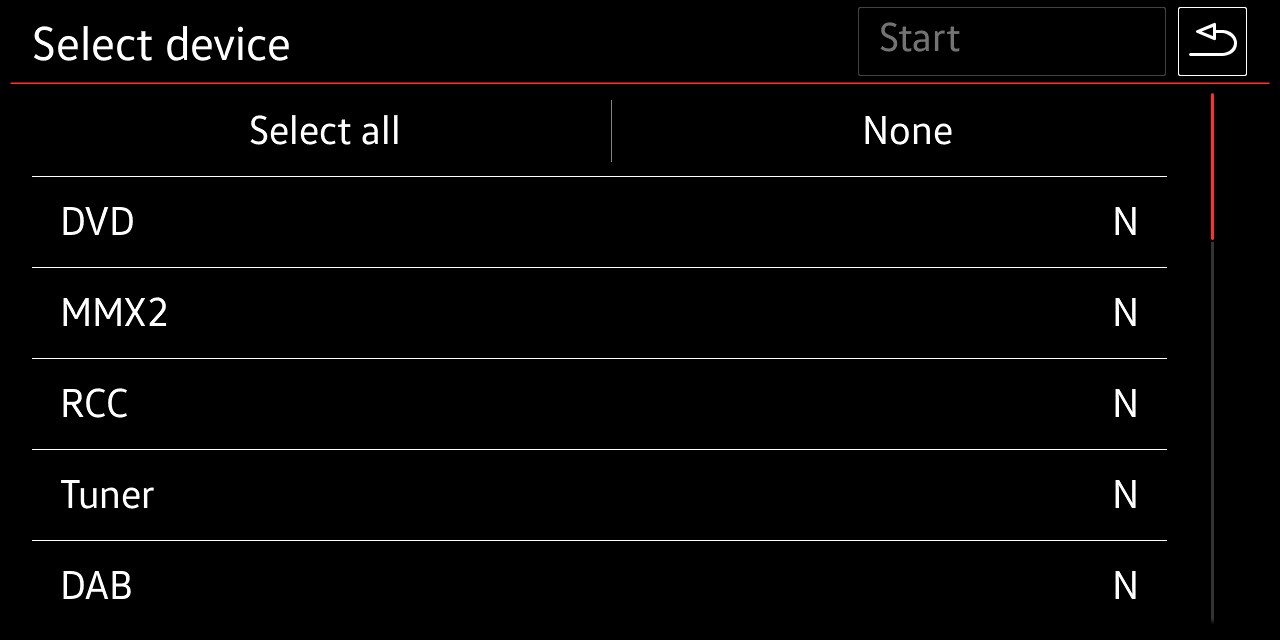
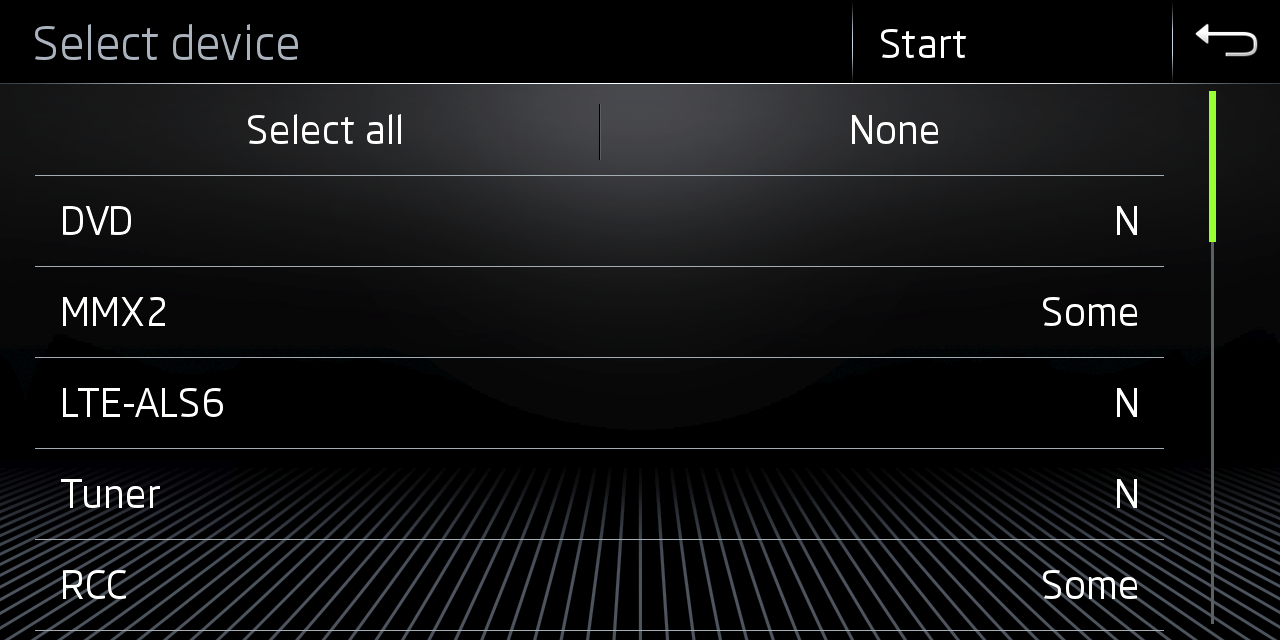
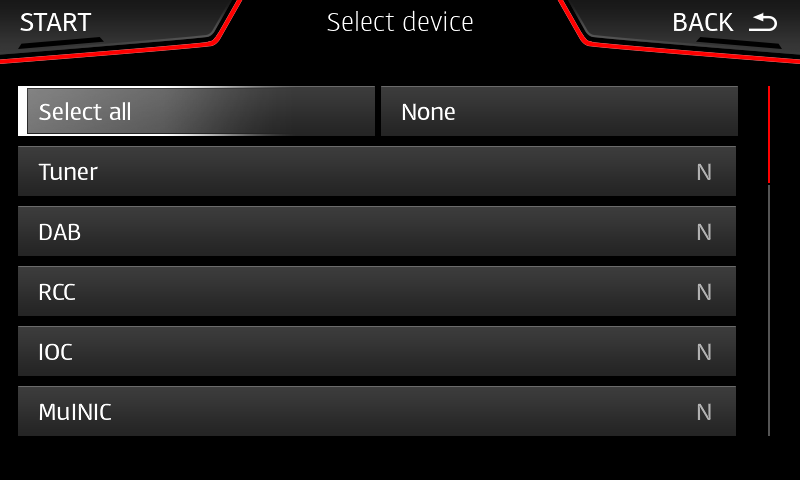
SWDL user defined FW install will enable selection of update packages before installation
Y(es)- will be installed completlyN(o)- No installationS(ome)- only some packaged e.g. withinRCC/MMX2are selectedN/A- not available: not part of this FW update
This is valid for FW updates, but also for Installation of maps, radio station db, GraceNote and M.I.B.
| VW (G13) | Skoda (G13) | Seat |
|---|---|---|
 |  |  |
 |  | |
 |  |  |
 |  |  |
 |  |  |
 |  |  |
 |  |  |
[Continue with update and press](/MHI2 MHI2Q Harman Aisin/Recovery/Conversion & Cross-flashing/FW Update - SWDL/MHI2 Q screens//#h-start-fw-update) START
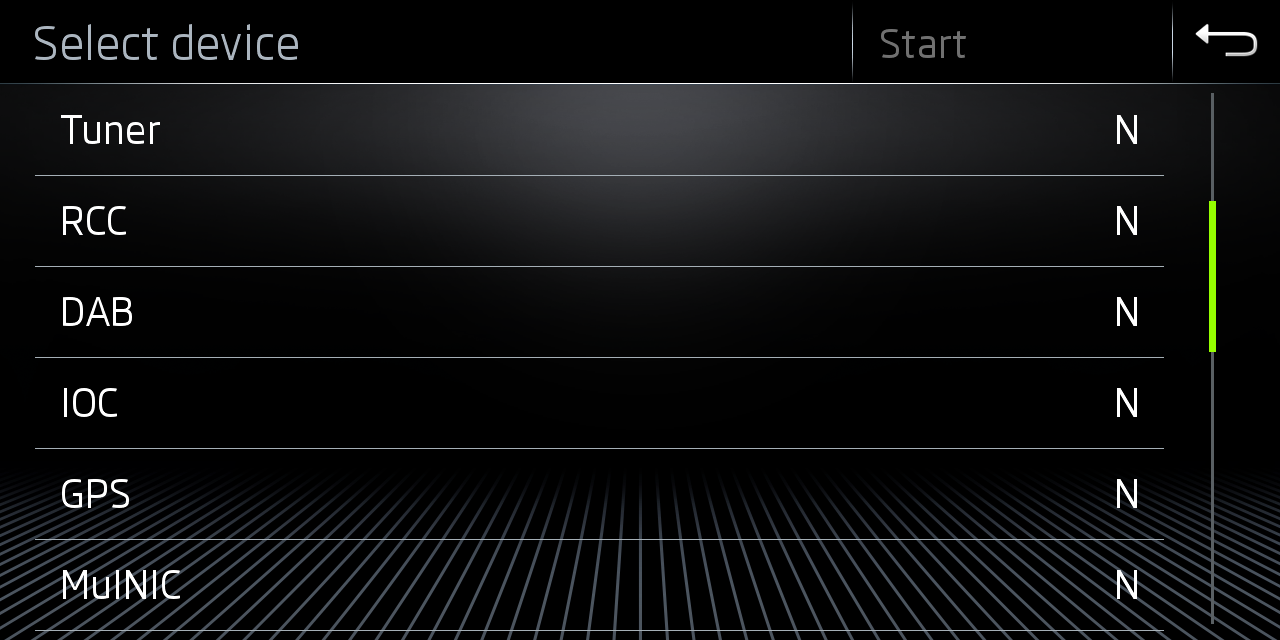
Select partial packages from collections
Same procedure and nearly identical menus on Seat and VW.
Example below is based on Skoda (G13)
In this example we want to select ifs-root package from RCC collection.
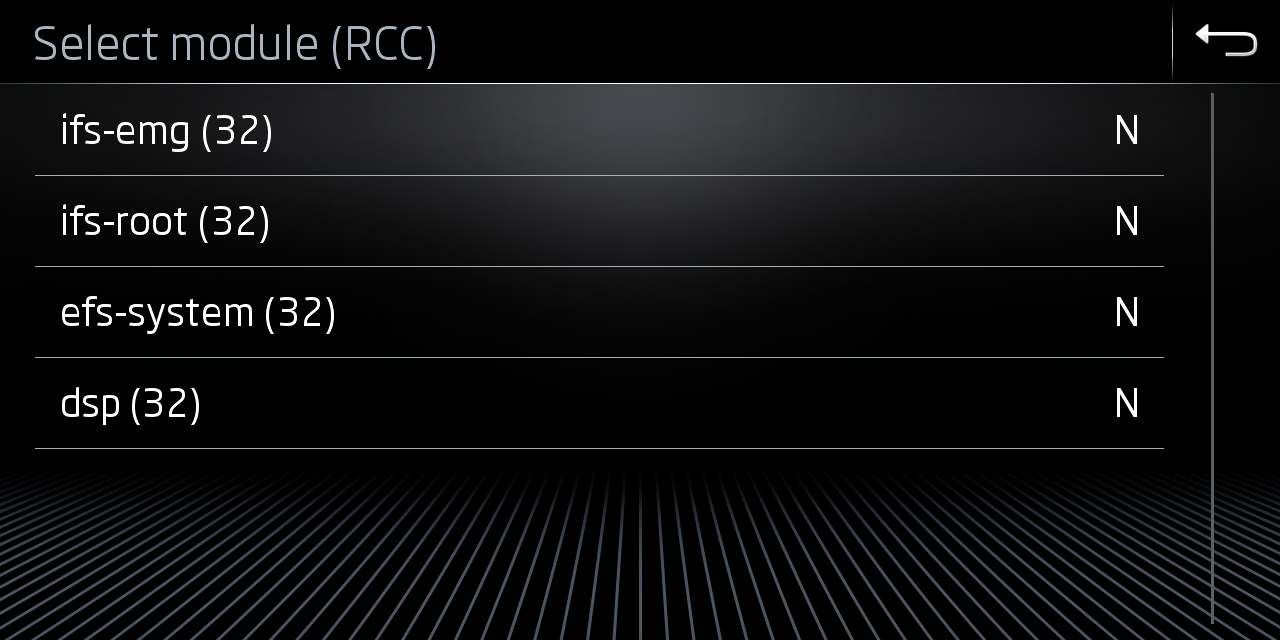
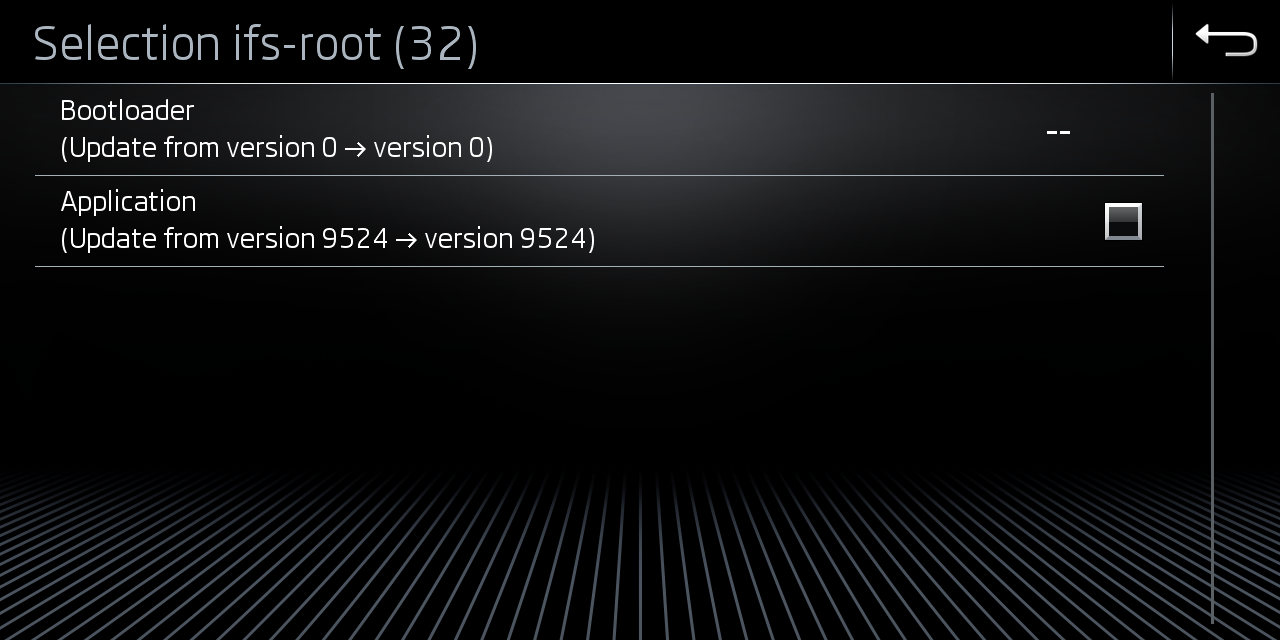
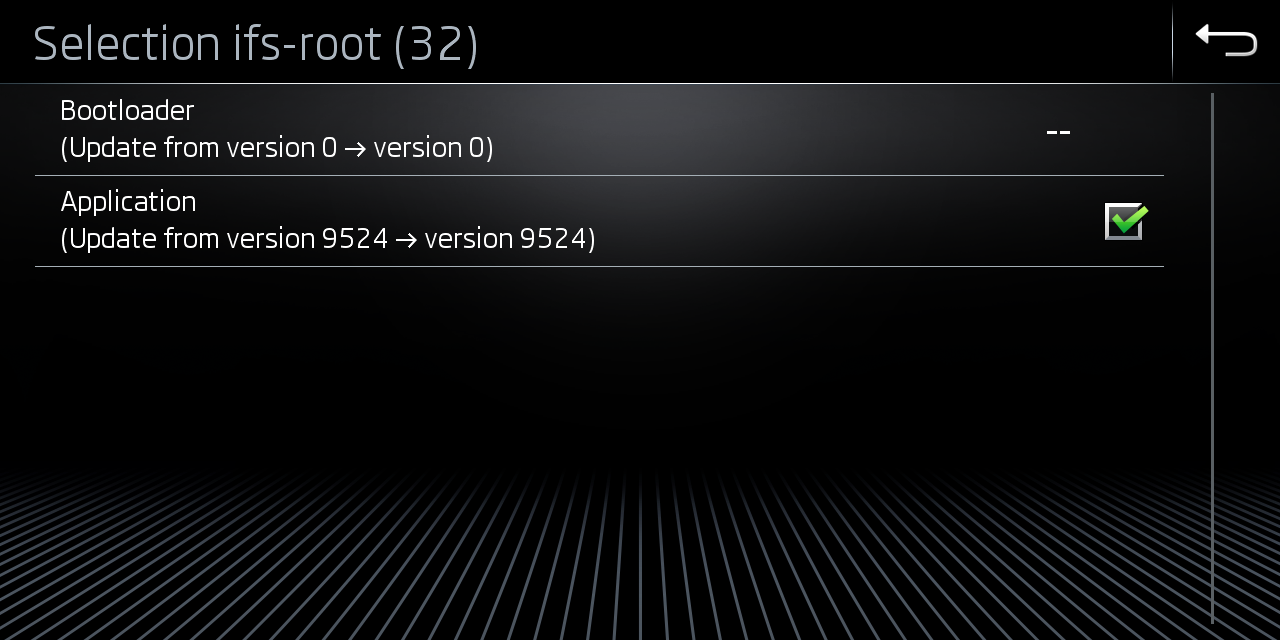
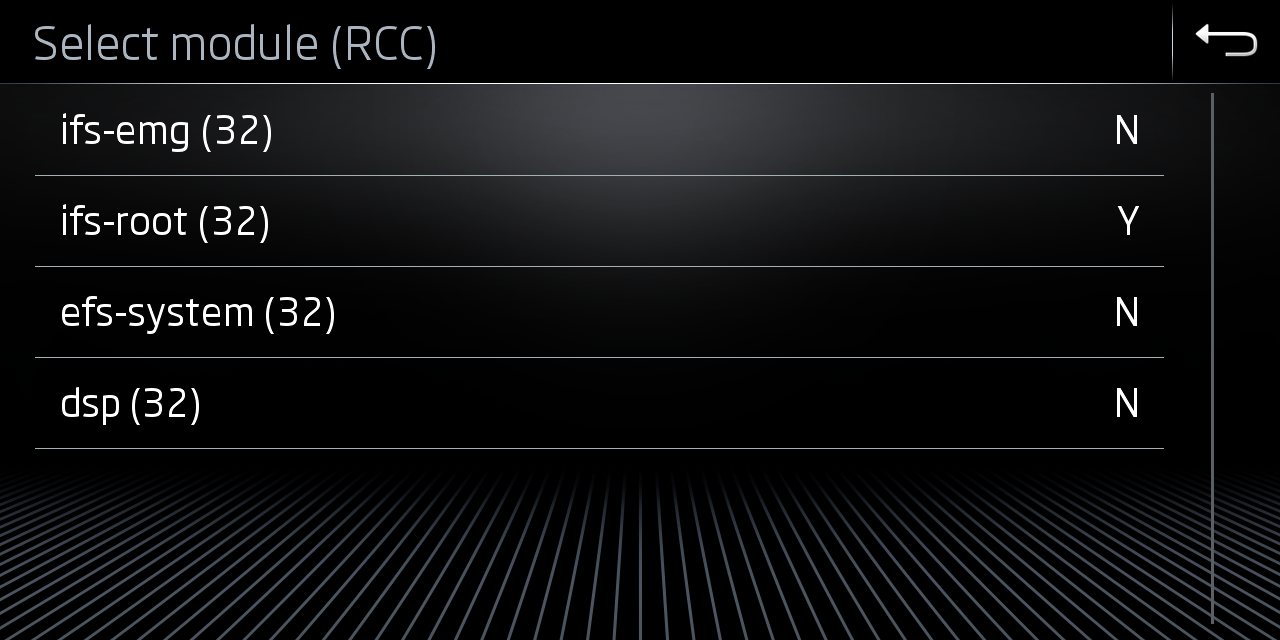
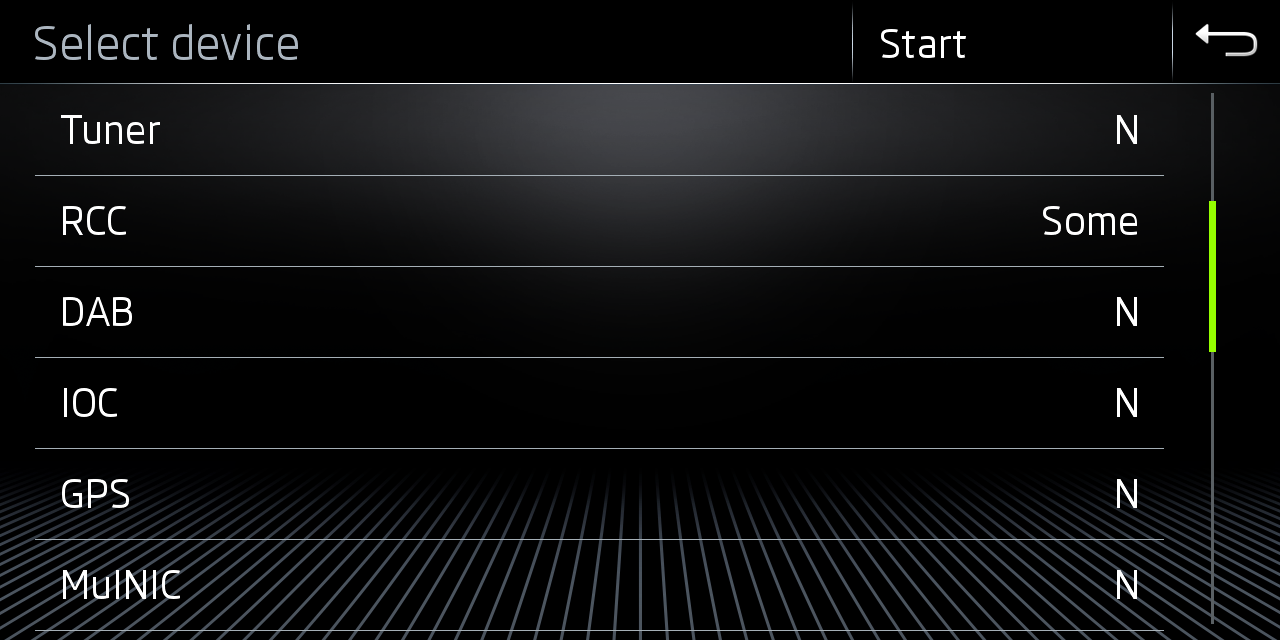
Start FW Update
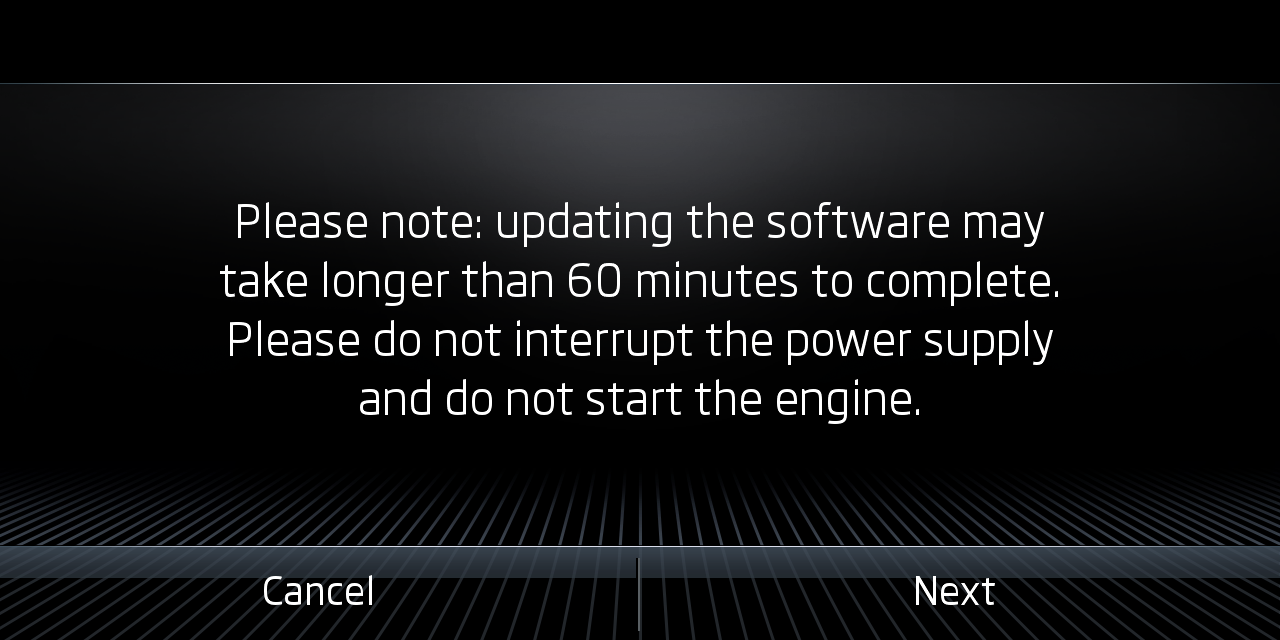
Standard FW update will take ~20 min
Full FW update with all packages on Y(es) ~40 min
Unit will restart several times during update!
Only flash FW with external power connected to car. Running on engine power can lead to bad blocks during flasing.
Keep the Kessy remote inside the vehicle, or even tape it to the dashboard. [Check here why that's important](/General information/Kessy & Updates/).
In case on an error occurs during update do not cancel the update.
- Check [error code](/MHI2 MHI2Q Harman Aisin/Recovery/Conversion & Cross-flashing/FW Update - SWDL/SWDLClient - Error Code tables/) table
- Take a screenshot and post your issue in e.g. MIB2 telegram channel
If the error code points towards a read error, this is always caused by a bad SD card or missing files.
Yes, we see this very often even with new SD card.
- Leave system on
- Do not exit FW update mode
- Remove SD card and put new one in
- Hit retry button
- Normally FW update will continue and finish
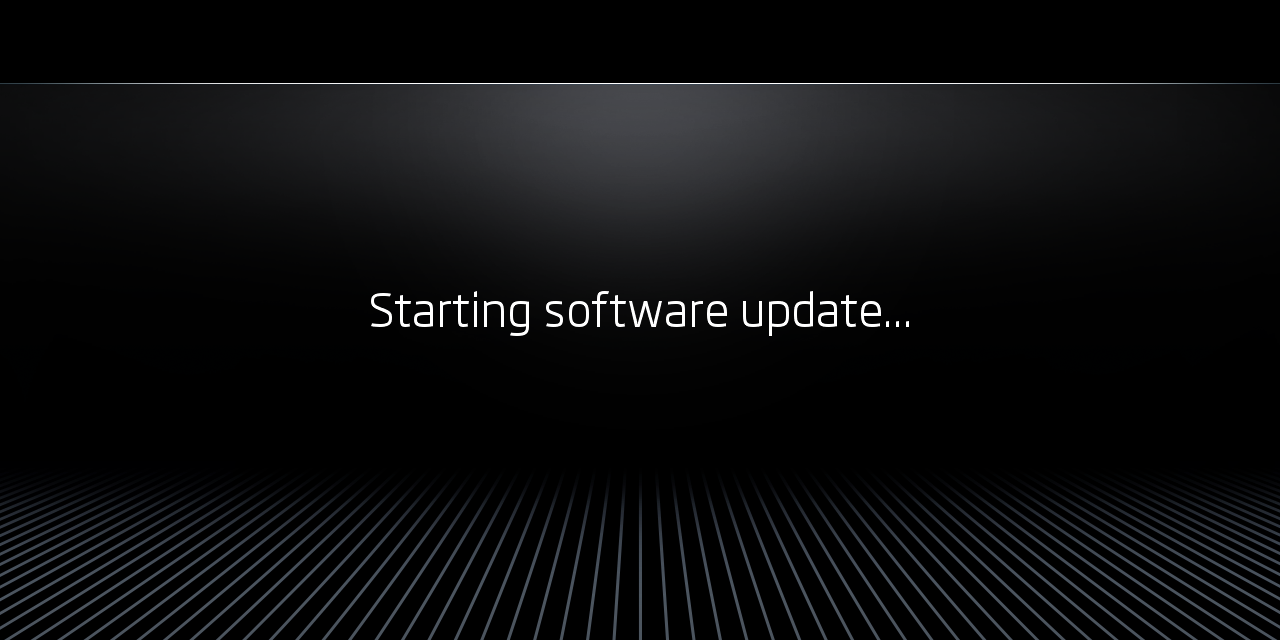
Select Start on SWDL screen to initiate FW update with the currently selected packages.
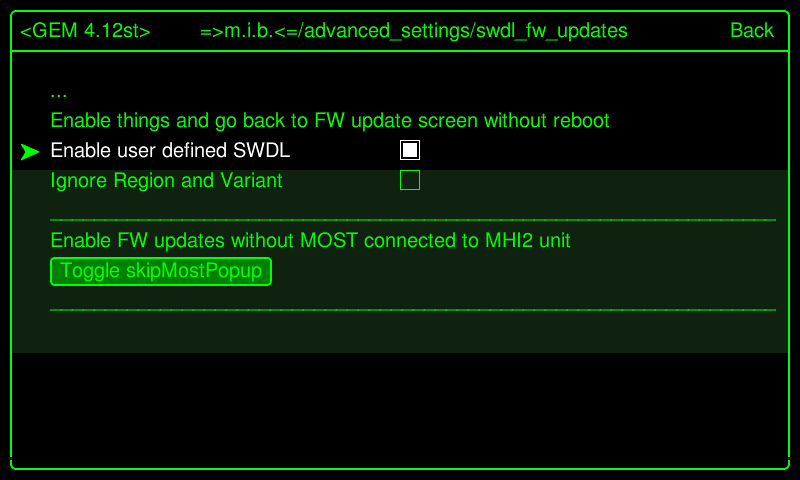
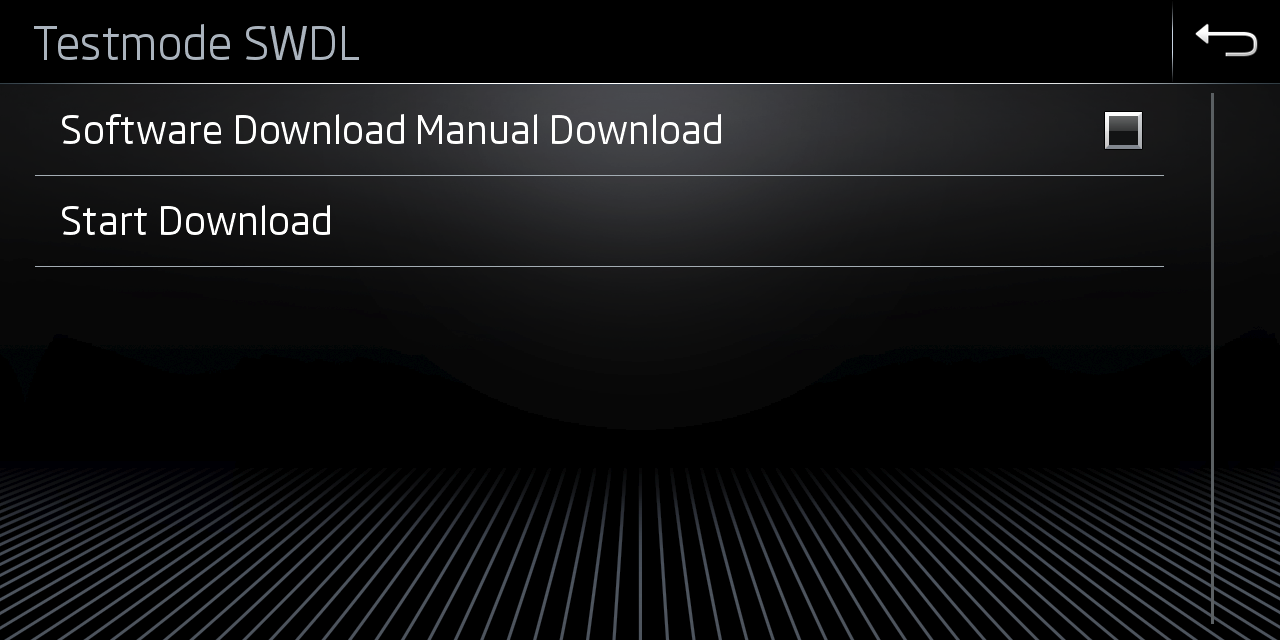
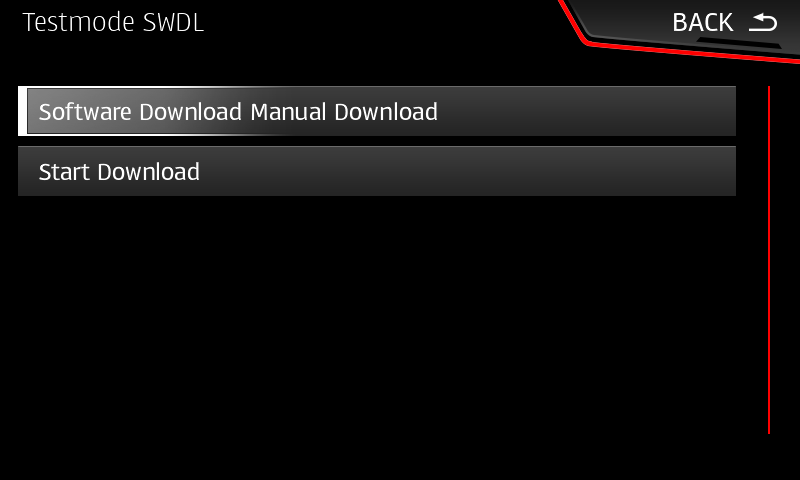
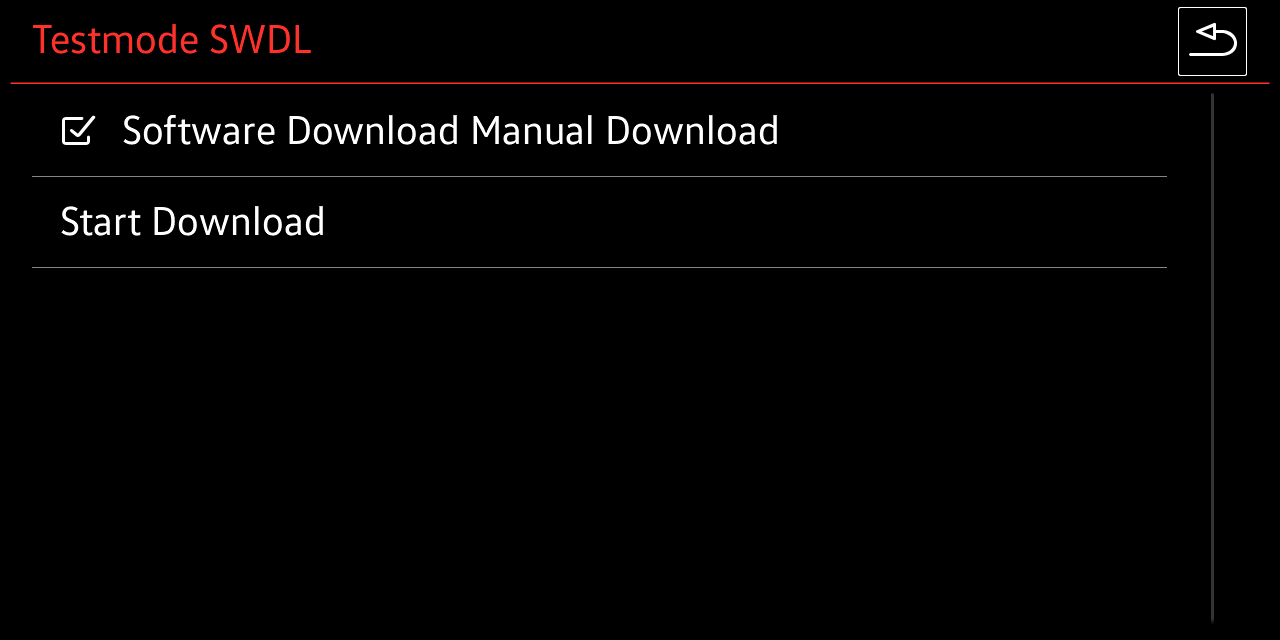
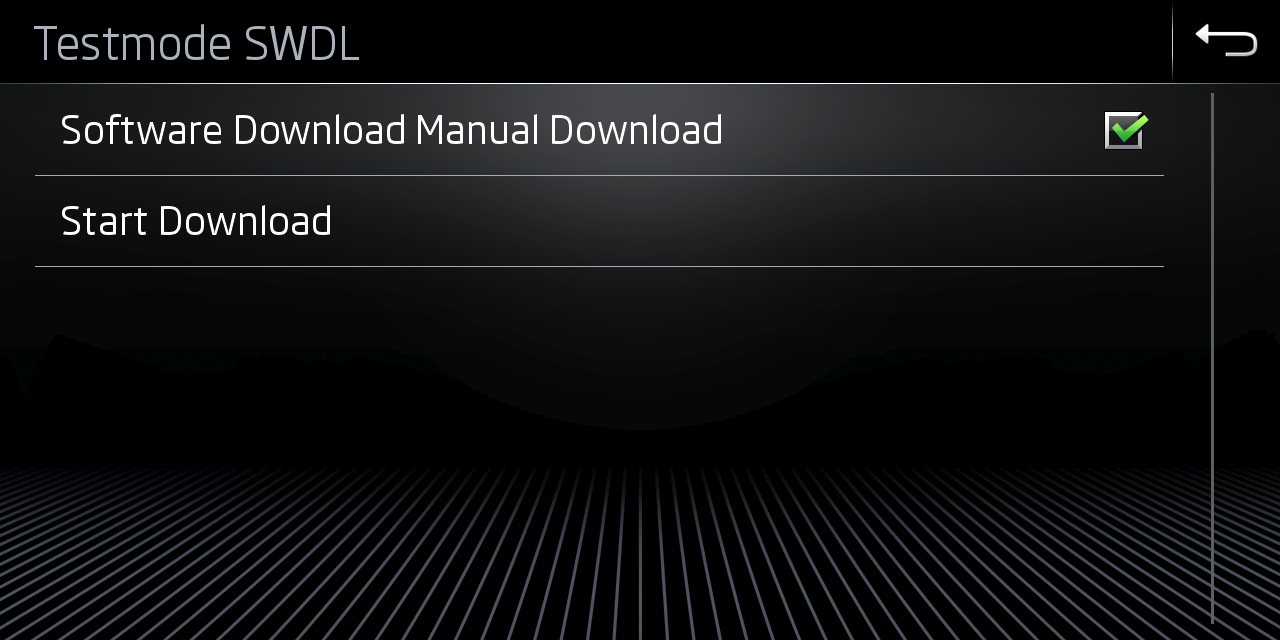
GEM - Enable user defined SWDL
Before user defined SWDL can be used, it must be activated in GEM - e.g. via M.I.B., like shown on screen below.
After the box is ticked exit GEM (do NOT reboot), remove M.I.B SD from unit, and insert SD with FW update.