MIB2 (G11) to MIB2.5 (G13) conversion
\ Usually this conversion is done for changing 8" display to 9,2" display and the most easy way is to use AIO FW updates for Skoda and VW from https://github.com/harman-f/MHI2_MIB2_AIO_FW_Update_Template/wiki/G11-to-G13-conversion
Reference https://www.drive2.com/b/675878045004867016/
MANUAL WAY OF CONVERSION BELOW IS STILL WORKING BUT OUTDATED AND LEFT FOR LEARNING PURPOSES, USE AIO!
:::info EXAMPLE below is for MHI2_ER_SKG13_P4526 MU1440
:::
:::warning Adjust train and sw version to your conversion target!
:::
:::tip Always update to latest G11 FW before converting to G13
If you skip this part, IOC of the old G11 FW might not support the new 9.2'' screen and you will not have any possibilty for screen inputs after conversion.
:::
1. Prepare SD with target FW update
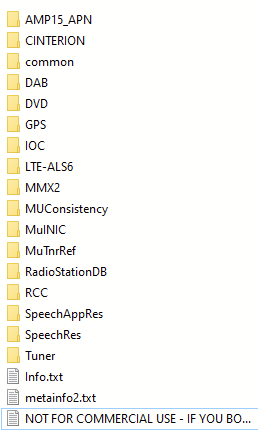
Get a clean SD card (freshly formatted, FAT32) and copy your target FW update to it.
2. Change train and sw version in normal RCC (via putty or UART)
:::info Use E2PTool to create code needed for train and sw version conversion
:::

Run commands in Putty - ==EXAMPLE== for MU1440
# TRAIN
on -f rcc /usr/apps/modifyE2P w 3a0 4d 48 49 32 5f 45 52 5f 53 4b 47 31 33 5f 50 34
on -f rcc /usr/apps/modifyE2P w 3b0 35 32 36
# SW_VERSION
on -f rcc /usr/apps/modifyE2P w 3b9 31 34 34 30
4. Enter Emergency IFS
Run the following commands step by step.
:::warning Make sure, that you will not have a power failure during flashing → connect car to external charger or secure your bench setup
:::
:::warning Run all commands in one session, do not reboot inbetween!
:::
:::tip You will need 20-30 minutes for this
:::
#make flash writable
flashunlock

#RCC flash
flashit -v -x -d -a 0x00540000 -f /net/mmx/fs/sda0/RCC/ifs-root/21/default/ifs-root.ifs
flashit -v -x -d -a 0x01D40000 -f /net/mmx/fs/sda0/RCC/efs-system/21/default/efs-system.efs
flashit -v -x -d -a 0x03D00000 -f /net/mmx/fs/sda0/RCC/dsp/21/default/AUDI_MIB_DSP.bin.bgz

#MMX flash
#rename start of stage1 image to ANDROID! in HEX editor!!!  save file as mifs-stage1p.img
flashit -v -x -d -a 0x760000 -p /net/mmx/dev/fs0 -f /net/mmx/fs/sda0/MMX2/mifs-stage1/70/default/mifs-stage1p.img
flashit -v -x -d -a 0xA60000 -p /net/mmx/dev/fs0 -f /net/mmx/fs/sda0/MMX2/mifs-stage2/70/default/mifs-stage2.img
flashit -v -x -d -a 0x3600000 -p /net/mmx/dev/fs0 -f /net/mmx/fs/sda0/MMX2/efs-sys/70/default/efs-system.img

#partition NAND , copy and paste commands line 20 to 49  all together hit enter ,
# last command after successfully copied app.img returns #


on -f mmx sh
umount -f /dev/mnand0
fdisk /net/mmx/dev/mnand0 delete -a
fdisk /net/mmx/dev/mnand0 add -s1 -t177 -c0,685
fdisk /net/mmx/dev/mnand0 add -s2 -t5 -c686,28005
fdisk /net/mmx/dev/mnand0 add -s2 -e1 -t178 -n312
fdisk /net/mmx/dev/mnand0 add -s2 -e2 -t178 -n1280
fdisk /net/mmx/dev/mnand0 add -s2 -e3 -t178 -n2048
fdisk /net/mmx/dev/mnand0 add -s2 -e4 -t178 -n128
fdisk /net/mmx/dev/mnand0 add -s2 -e5 -t178 -n512
fdisk /net/mmx/dev/mnand0 add -s2 -e6 -t178 -n512
fdisk /net/mmx/dev/mnand0 add -s2 -e7 -t178 -n1024
fdisk /net/mmx/dev/mnand0 add -s2 -e8 -t178 -n576
fdisk /net/mmx/dev/mnand0 add -s2 -e9 -t178 -n15808
fdisk /net/mmx/dev/mnand0 add -s2 -e10 -t178 -n5120
fdisk /net/mmx/dev/mnand0 add -s3 -t179 -c28006,30315
mount -e /net/mmx/dev/mnand0
echo "y" | mkqnx6fs -T runtime -b 1024 -i 22912 /dev/mnand0t177    # /mnt/app
echo "y" | mkqnx6fs -T media -b 32768 -i 1024 /dev/mnand0t178    # /mnt/boardbook
echo "y" | mkqnx6fs -T media -b 32768 -i 2048 /dev/mnand0t178.1    # /mnt/speech
echo "y" | mkqnx6fs -T media -b 32768 -i 256 /dev/mnand0t178.2    # /mnt/gracenotedb
echo "y" | mkqnx6fs -T media -b 32768 -i 2048 /dev/mnand0t178.3    # /mnt/mmebackup
echo "y" | mkqnx6fs -T runtime -b 32768 -i 65536 /dev/mnand0t178.4    # /mnt/icab
echo "y" | mkqnx6fs -T media -b 4096 -i 32768 /dev/mnand0t178.5    # /mnt/adb
echo "y" | mkqnx6fs -T runtime -b 16384 -i 8192 /dev/mnand0t178.6    # /mnt/gecache
echo "y" | mkqnx6fs -T media -b 1024 -i 32768 /dev/mnand0t178.7    # /mnt/ols
echo "y" | mkqnx6fs -T media -b 32768 -i 8192 /dev/mnand0t178.8    # /mnt/navdb
echo "y" | mkqnx6fs -T media -b 32768 -i 16384 /dev/mnand0t178.9    # /mnt/media
echo "y" | mkqnx6fs -T runtime -b 32768 -i 16384 /dev/mnand0t179    # /mnt/ota
cat /fs/sda0/MMX2/app/70/default/app.img > /dev/mnand0t177

# again (means app copied successfully!
All done now.
Reboot unit by reset or power off/on.
:::tip The steps above will format your NAND - also deleting Navigation DB, GraceNote, RSTDB, boardbood, … - You have install all this again.
:::
4. Run FW update
:::tip Before running FW update via SWDL on unit make sure, that you copied back the original mifs-stage1.img. If you try to do the update with the ANDROID! version it will fail.
:::
In the steps before we updated the main system components to allow the unit to boot up into a stable configuration.
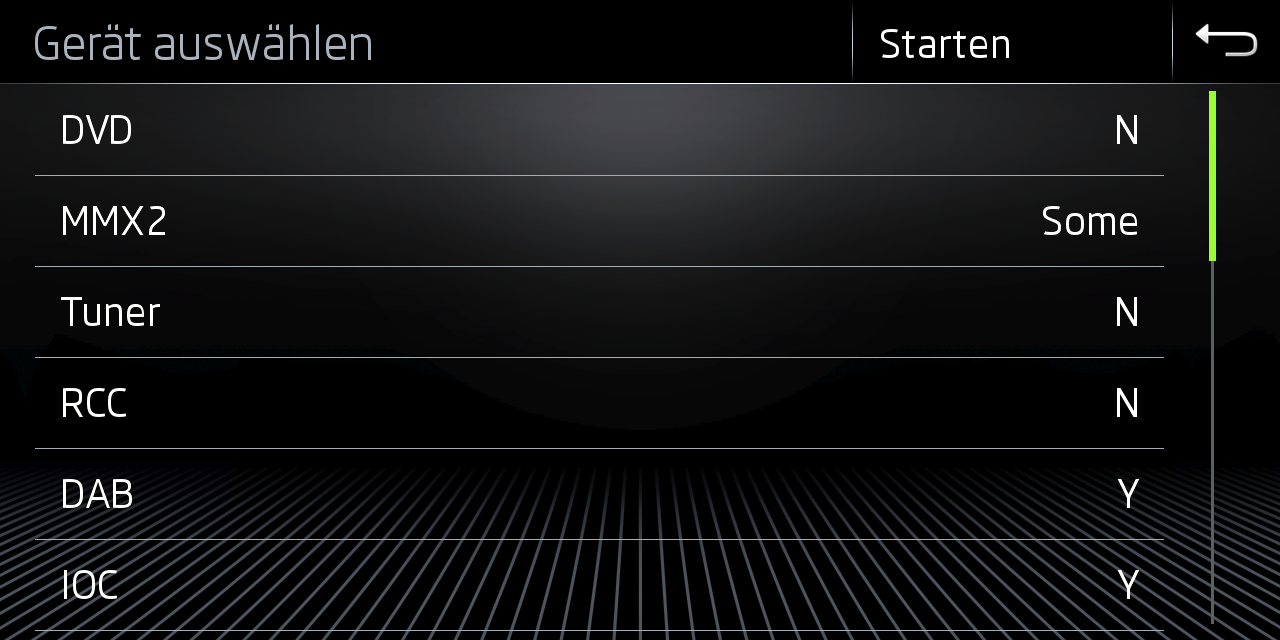
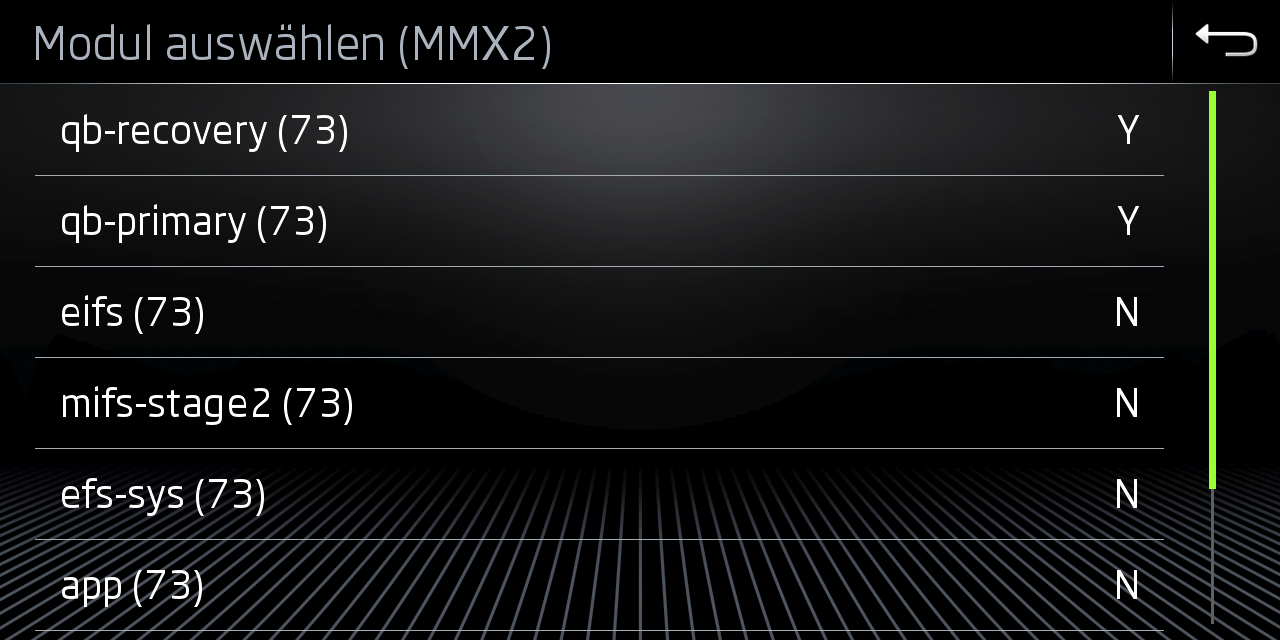
However, we still have to update missing components like: IOC, Tuner, DAB and some parts of MMX2 via normal FW update process.
:::info Missing components will automatically be selected!
Selection will be different based on the start and target FW you are running
:::
Let the FW update run - unit will reboot a few times - and the conversion is finished!
:::info Some coding will most likely be required to fix the unit for the target car
:::
:::info Use M.I.B as needed for coding and patching of unit
:::
Known Issues
Can be go into emmergency because metainfo2 is created bad)
No input recognised on 9.2'' screen
If you directly converted to G13 from very old G11 FW versions (2xxx) IOC might be to old to support the new screen.(issue metainfo2 ?!?)
In this case you have to manually update IOC or apply FW update via custom update.txt